
Other tools: describe it
Type “add a dog” and hope the model draws a dog you like. The breed, the pose, the expression — all a dice roll.
Powered by ChatGPT Images 2.5 · Flare
Most tools let you add things to image AI imagines for you. Here you upload the actual object — up to 15 source photos — mark where it belongs, and it blends in with matching light, scale and shadow.
Free credits on sign-up · No credit card required
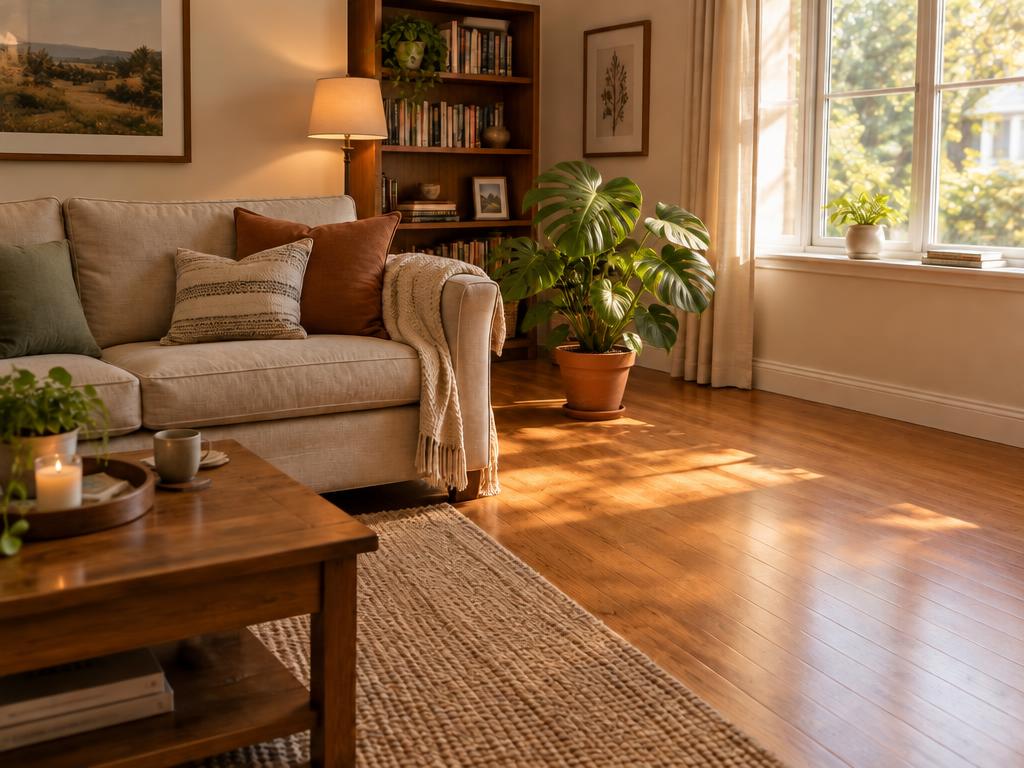
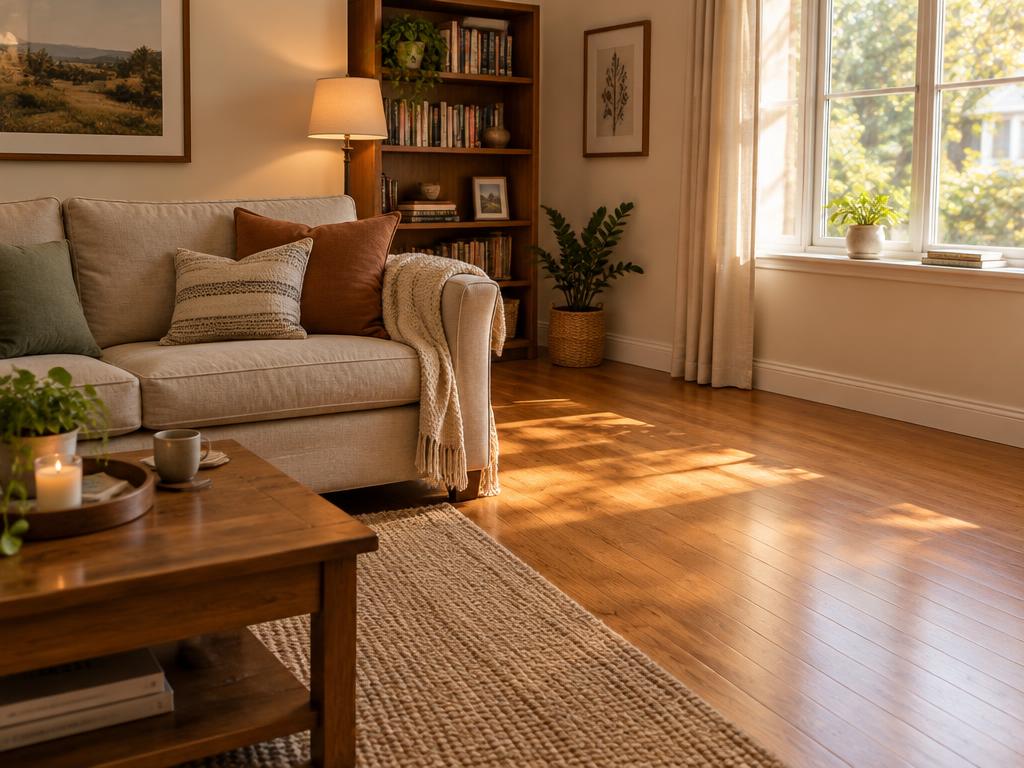
Type “add a dog” and hope the model draws a dog you like. The breed, the pose, the expression — all a dice roll.
Upload the photo of your dog. The editor takes that dog — your dog — and places it where you pinned it. What you see is what gets added.
Up to 15 source photos per edit, with annotation on both sides: pin the spot in the main photo, mark the object in the source. This is how you add objects to photo with evidence instead of imagination.
Drag the handle on each pair. Every object came from a real source photo, blended on this page — the exact instruction used is printed below.
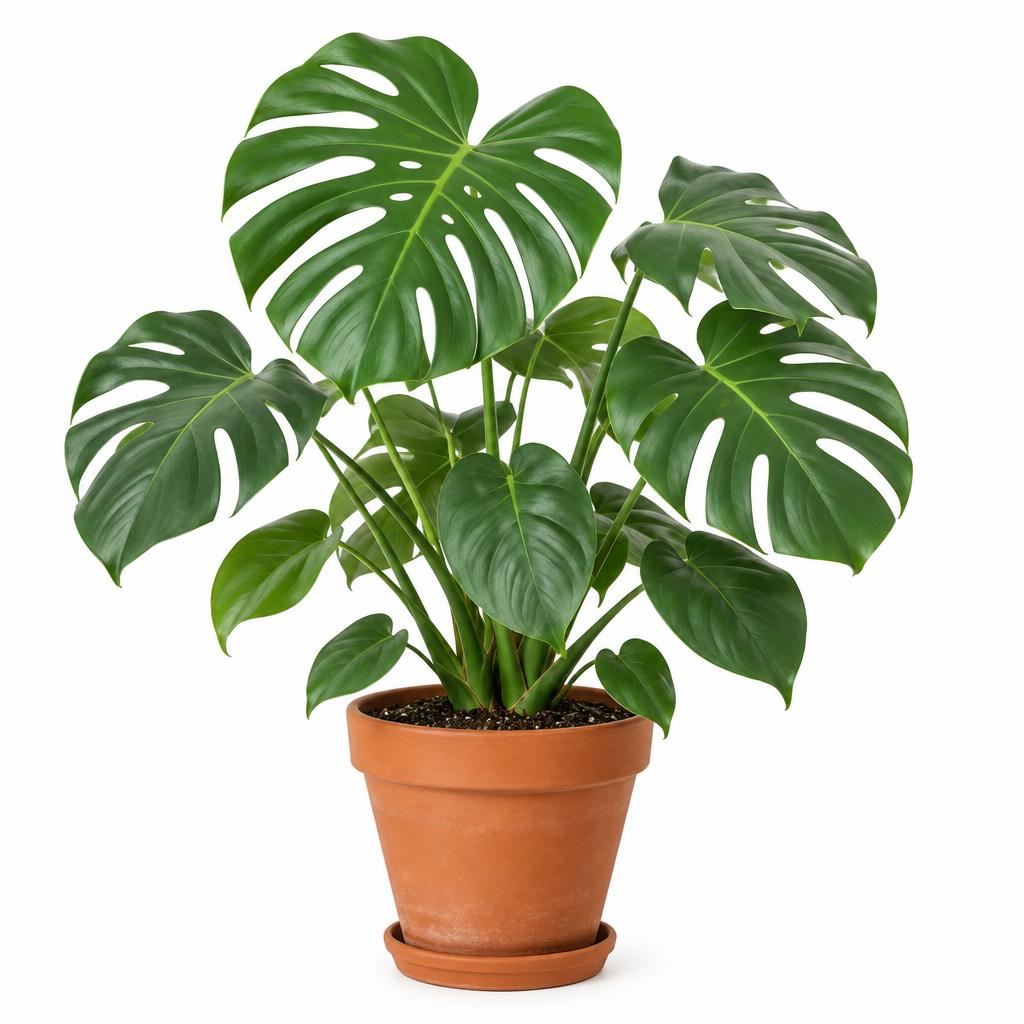
“Add the potted monstera from image 2 onto the empty floor space on the right side of the sofa, matching the warm light, scale and floor shadow.”
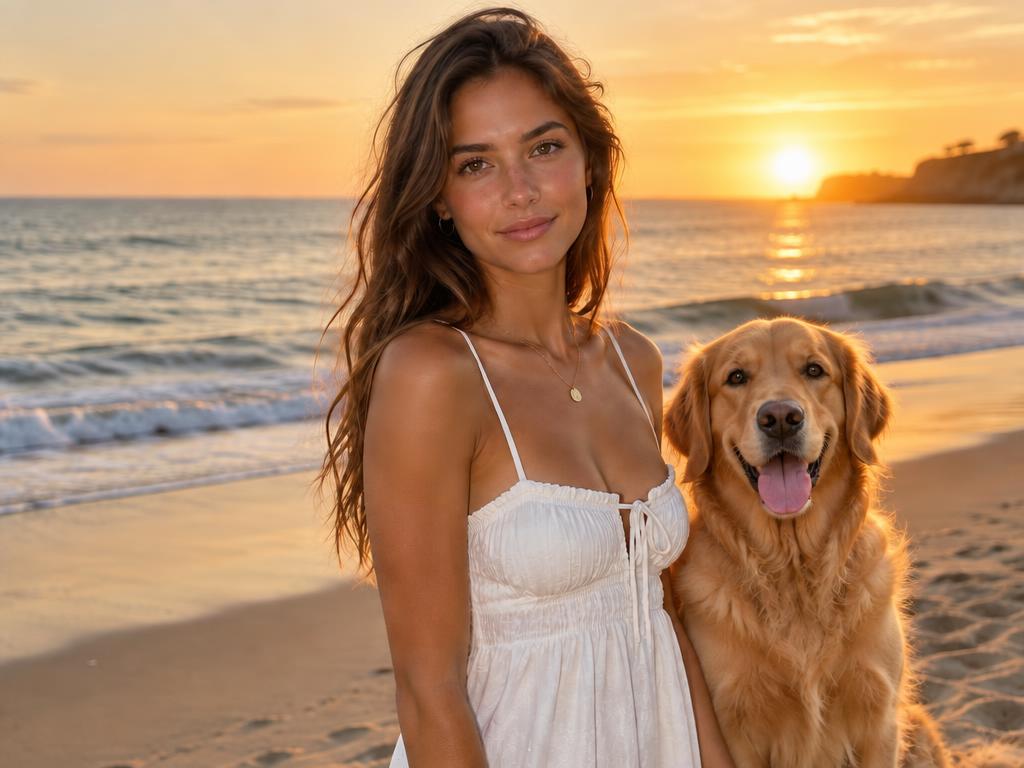
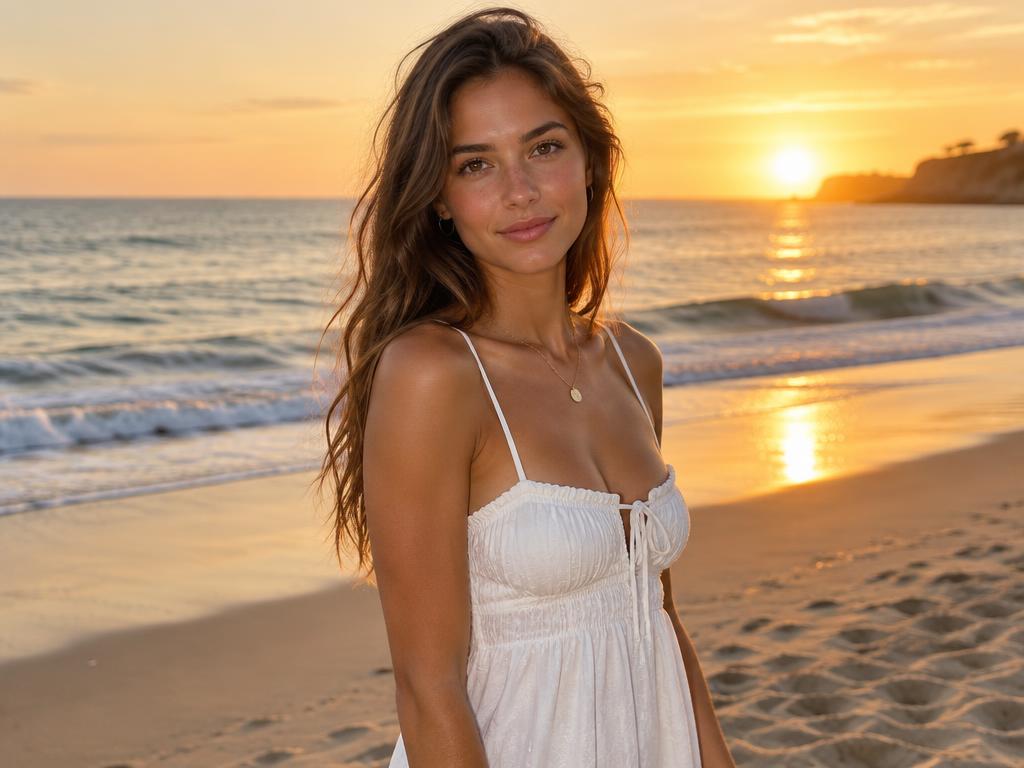
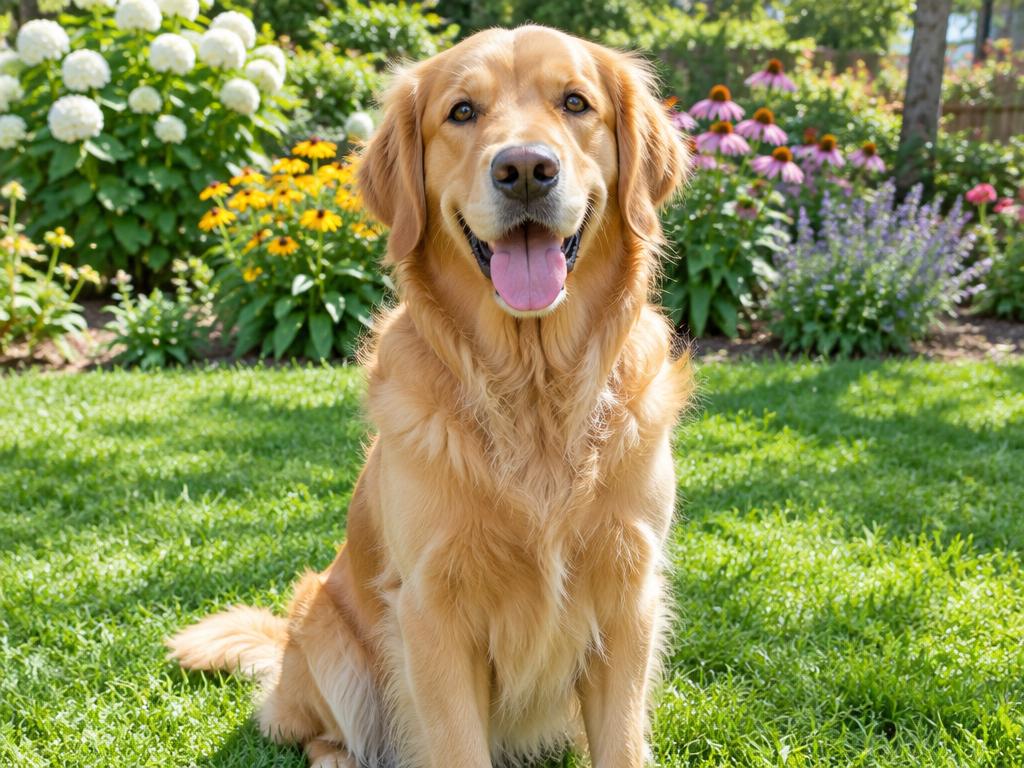
“Add the golden retriever from image 2 sitting on the sand next to the woman, at the same scale, lit by the same golden-hour light with a soft shadow.”
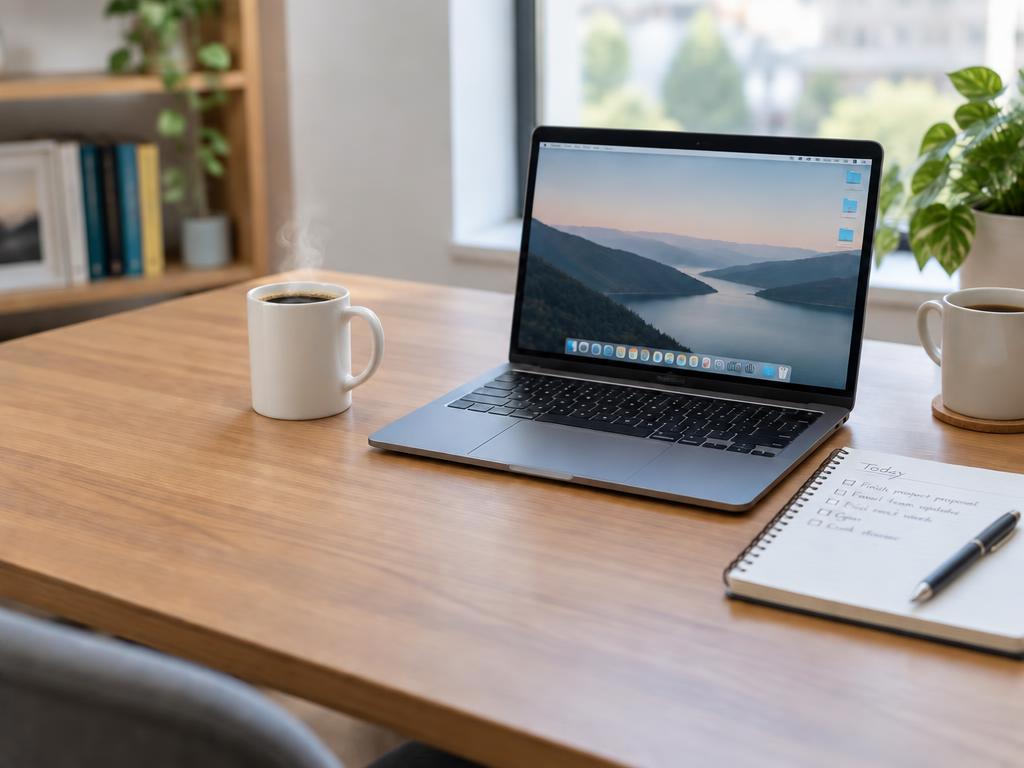
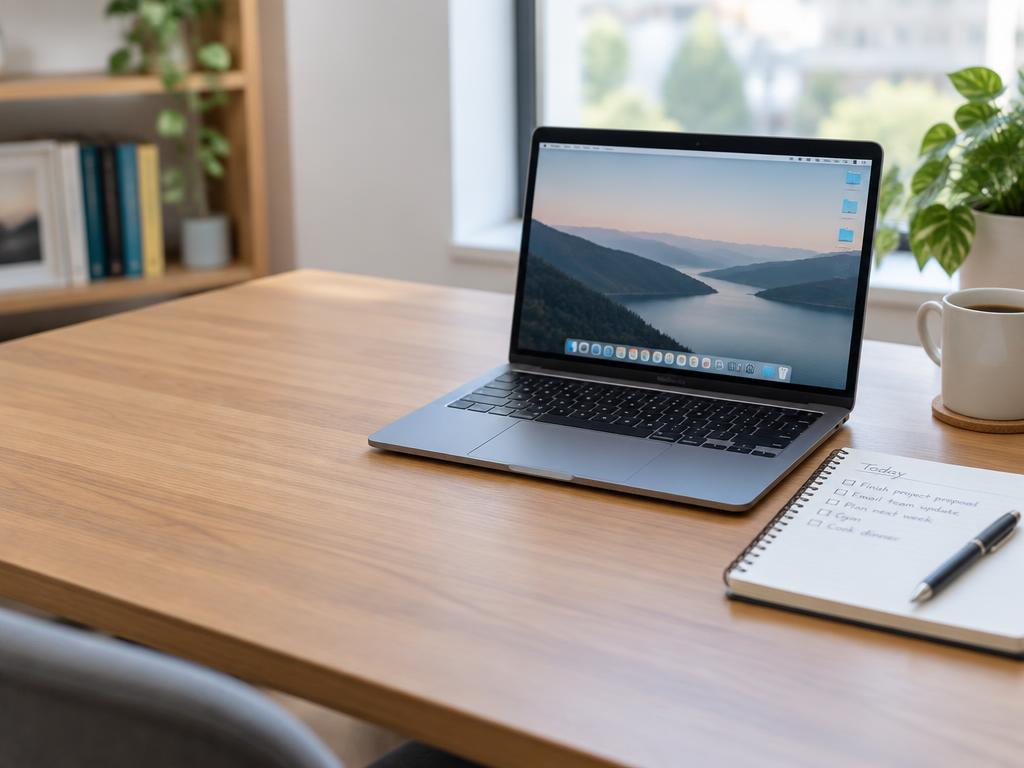
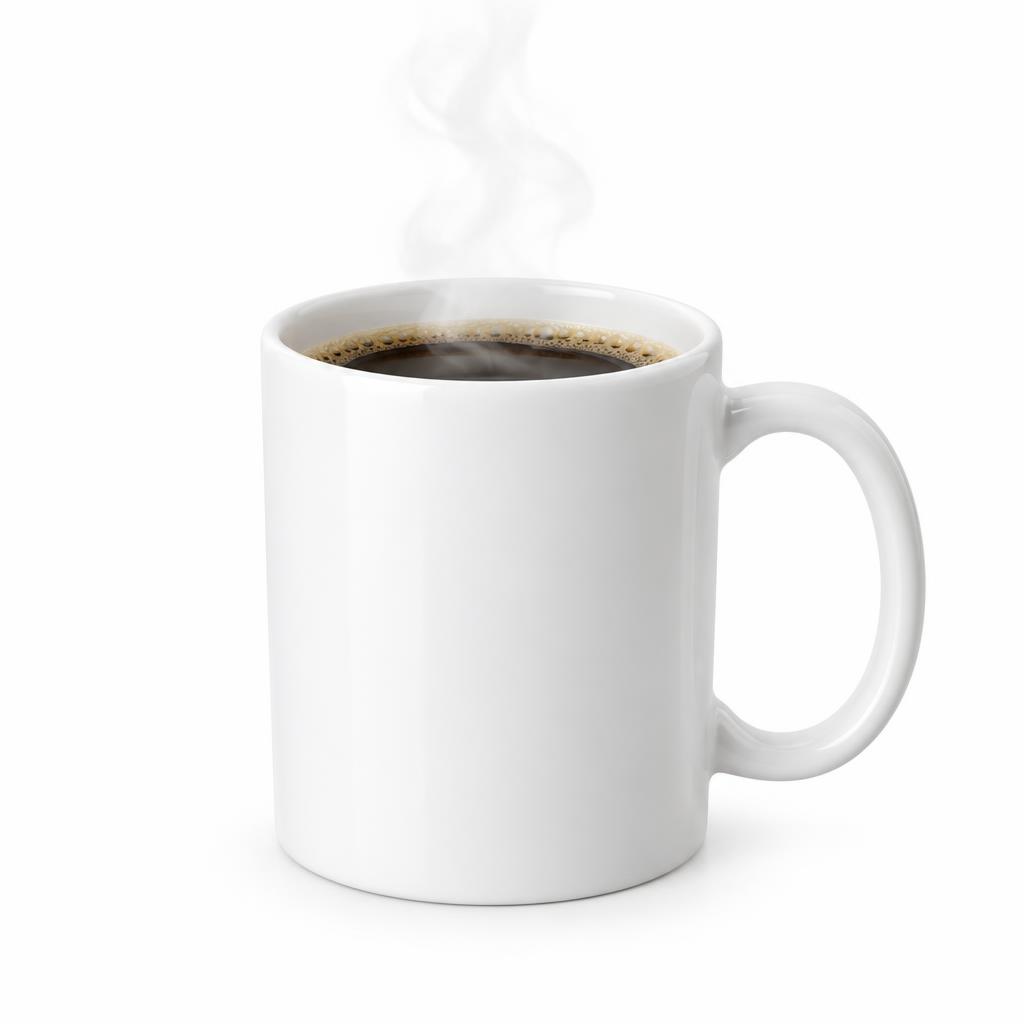
“Add the white ceramic mug from image 2 onto the empty desk space on the left, matching the daylight, scale and the shallow depth of field.”
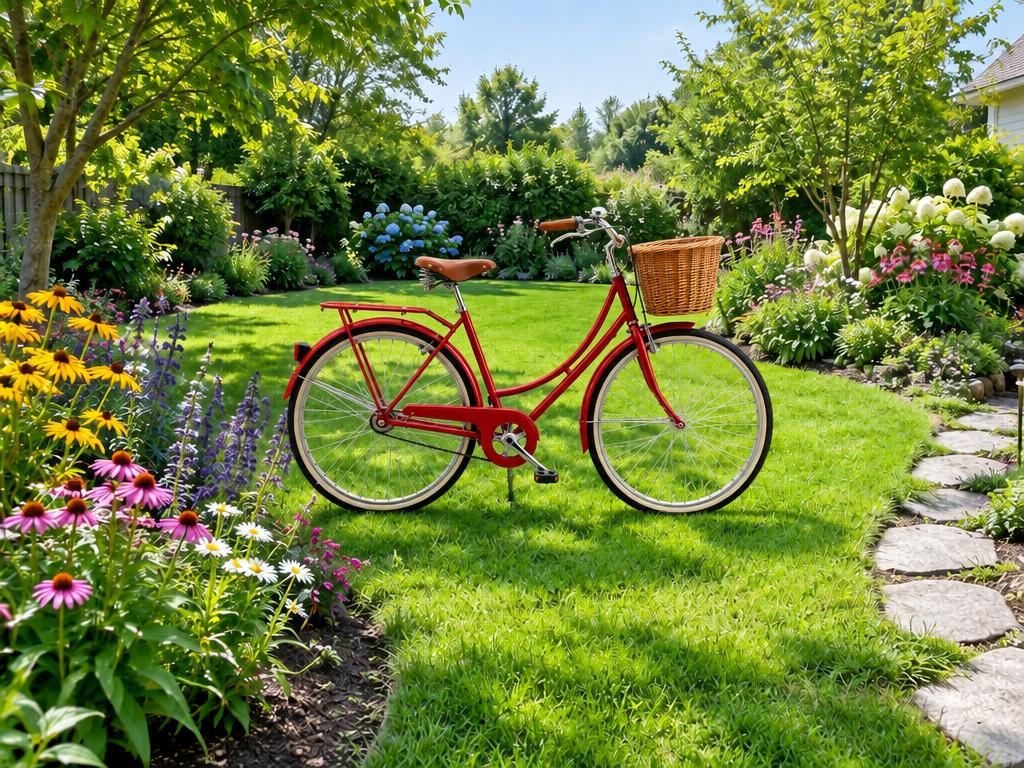
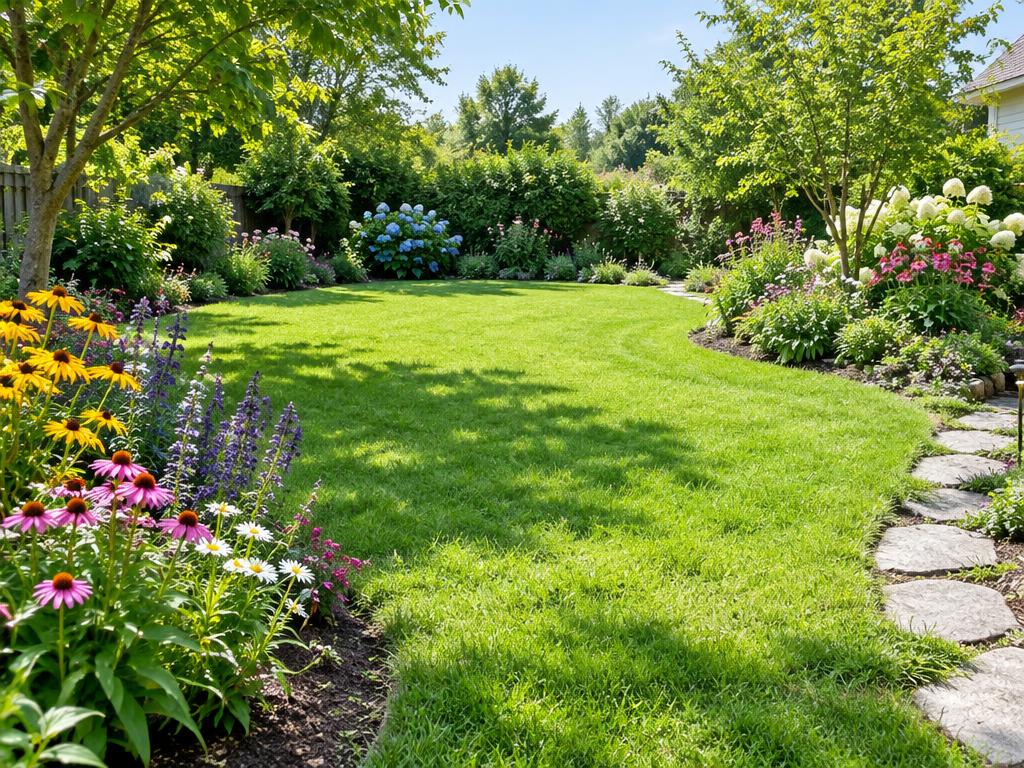
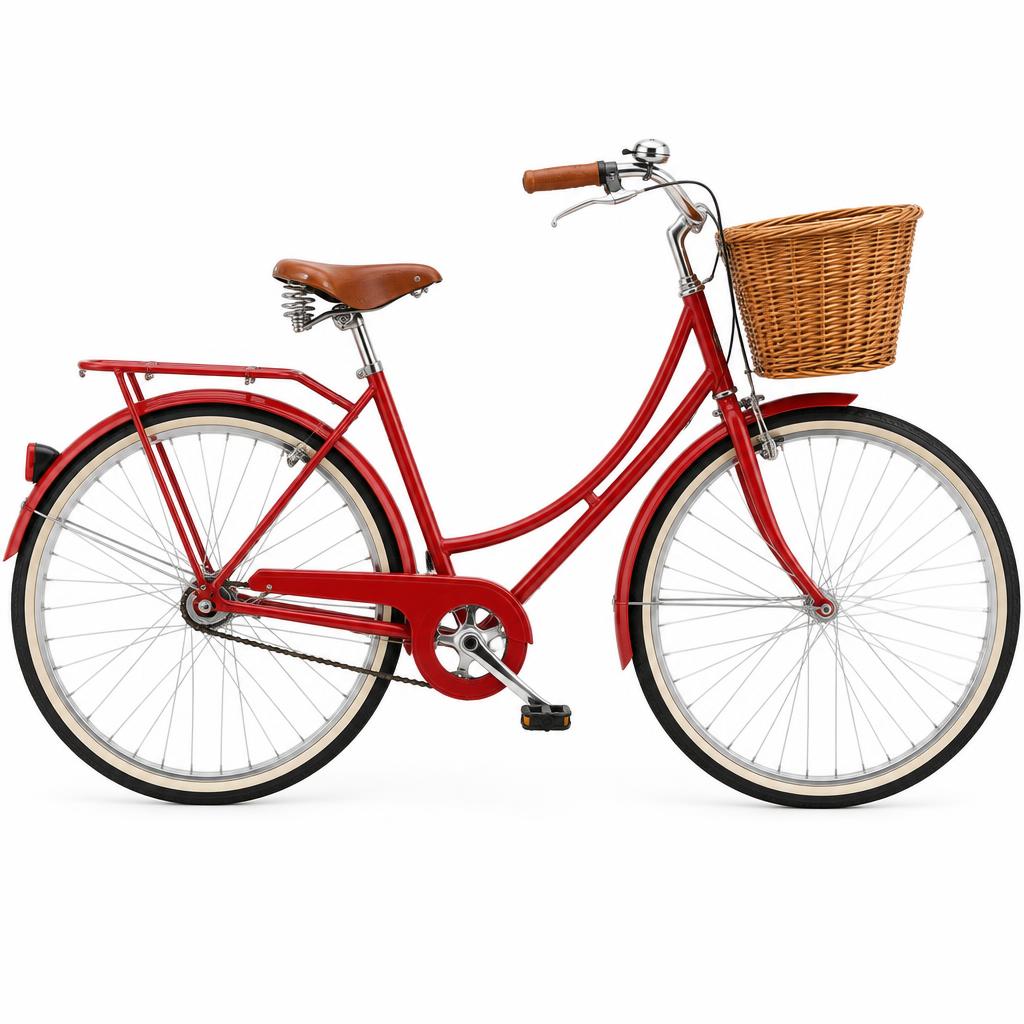
“Add the red bicycle from image 2 standing on the grass in the center of the lawn, matching the daylight, scale and a soft shadow on the grass.”
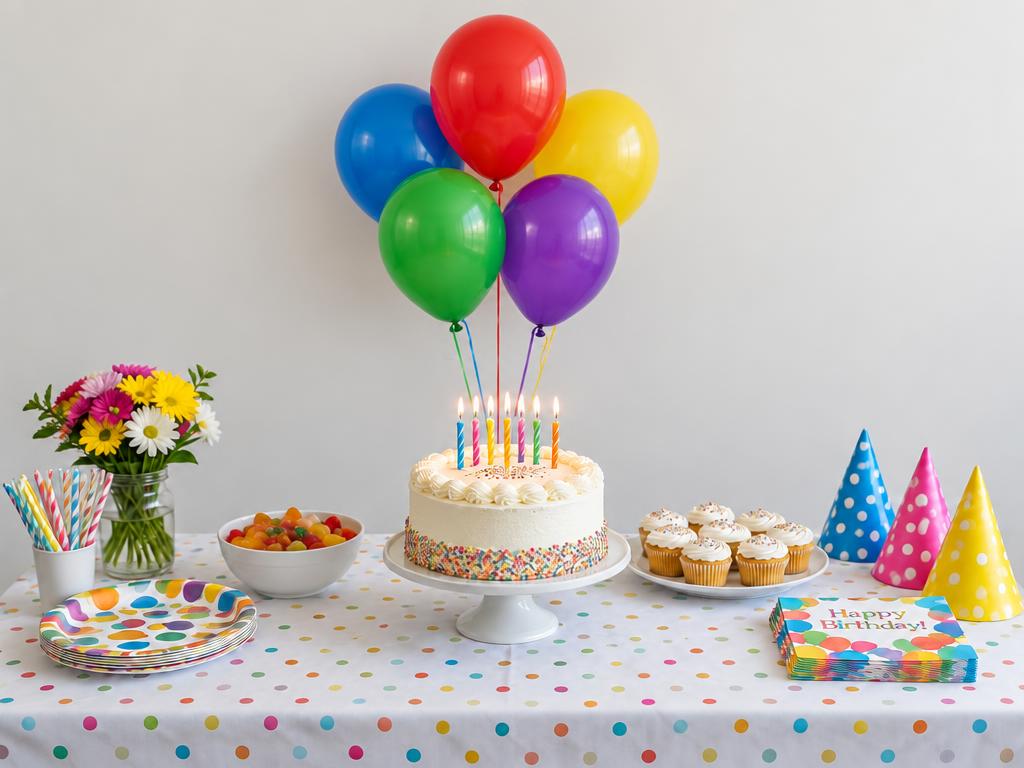
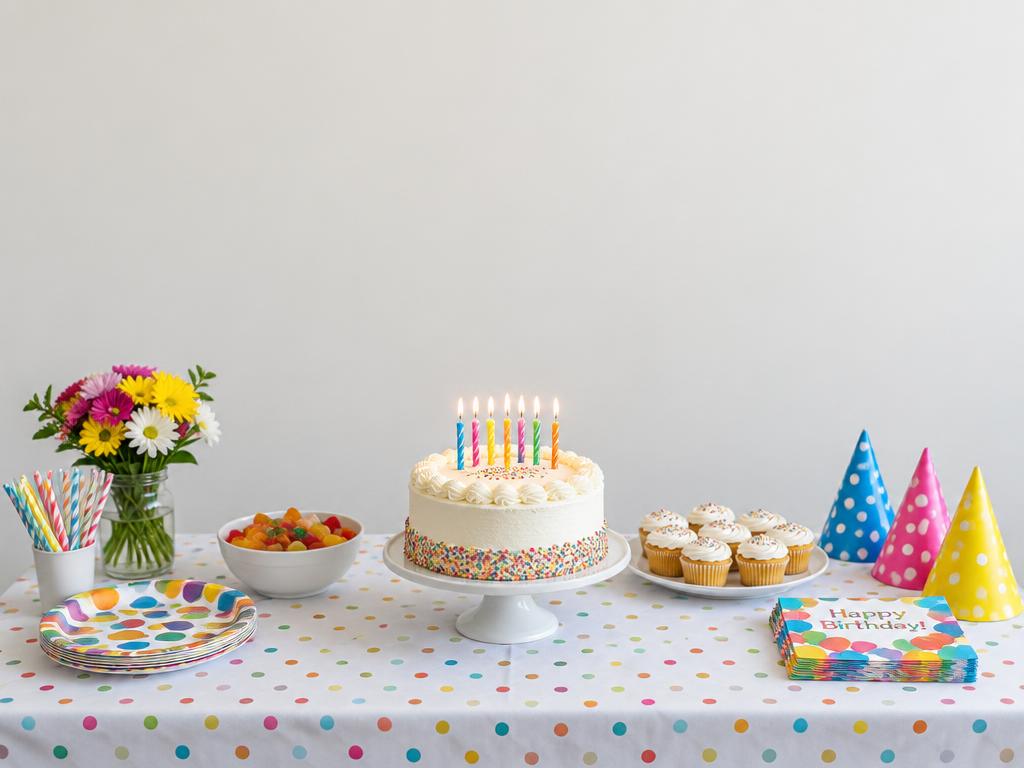
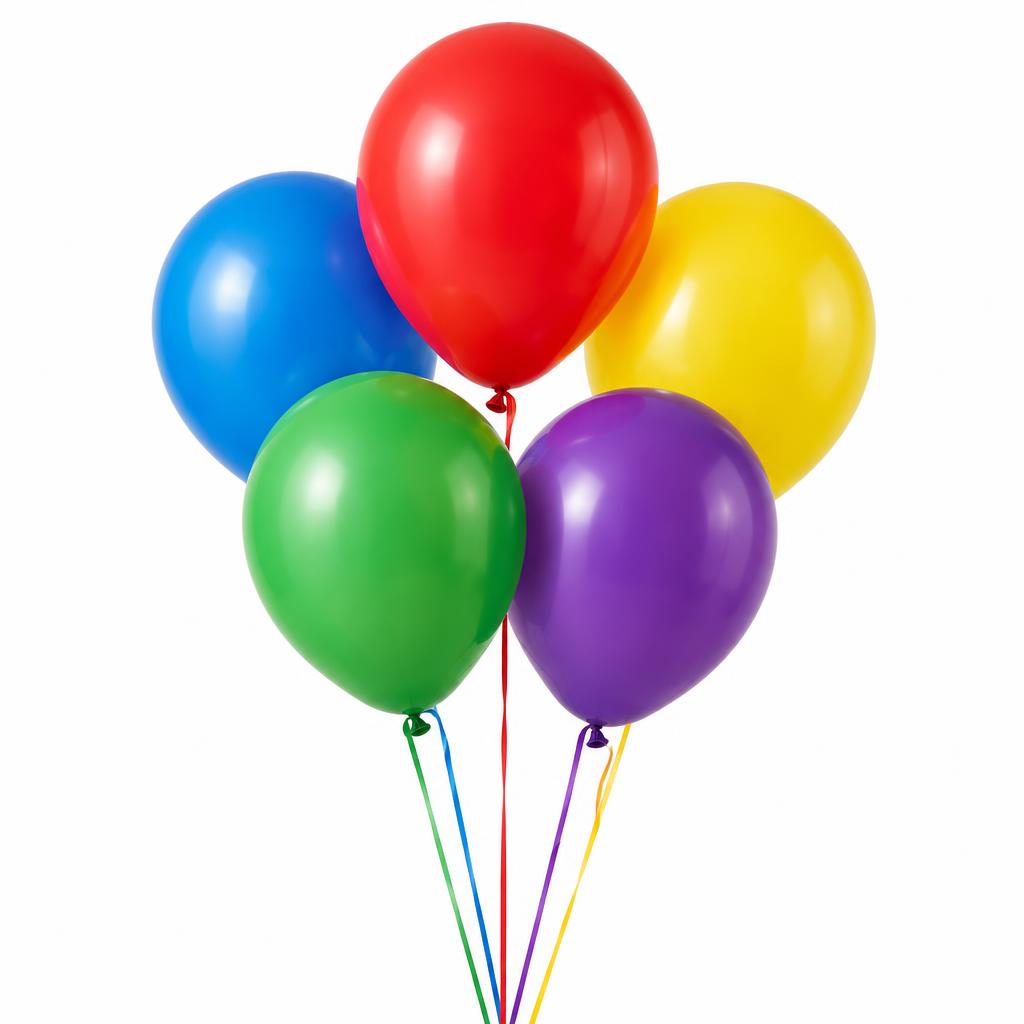
“Add the bunch of balloons from image 2 floating just behind the table, strings down to the table edge, matching the indoor light and scale.”
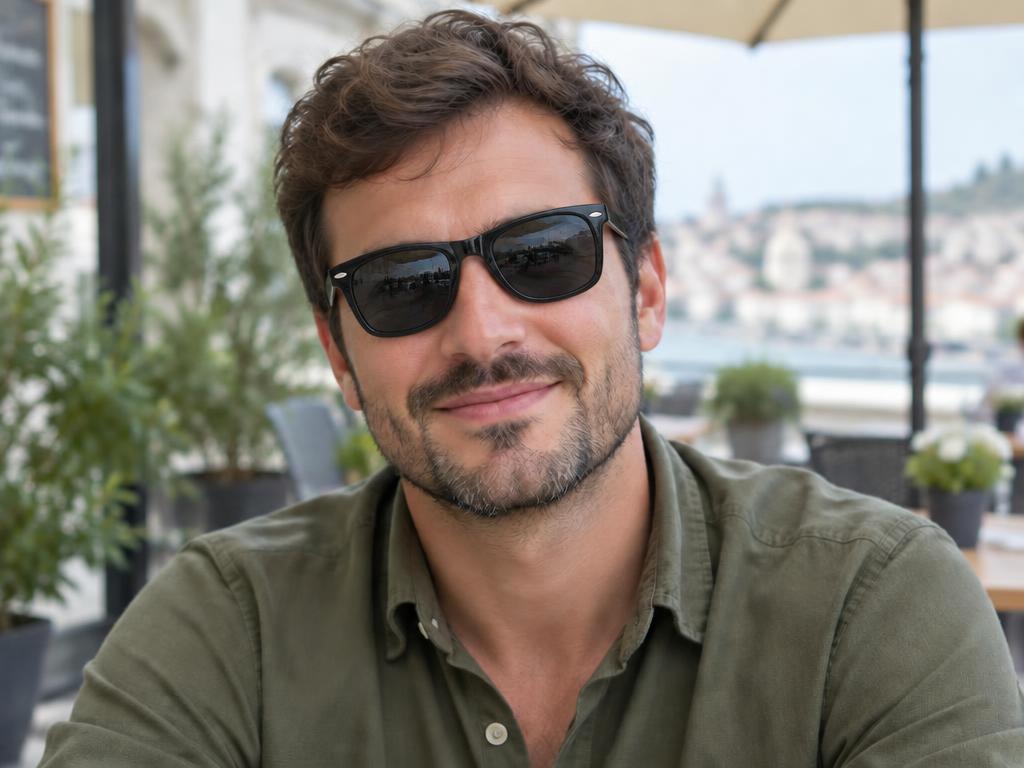
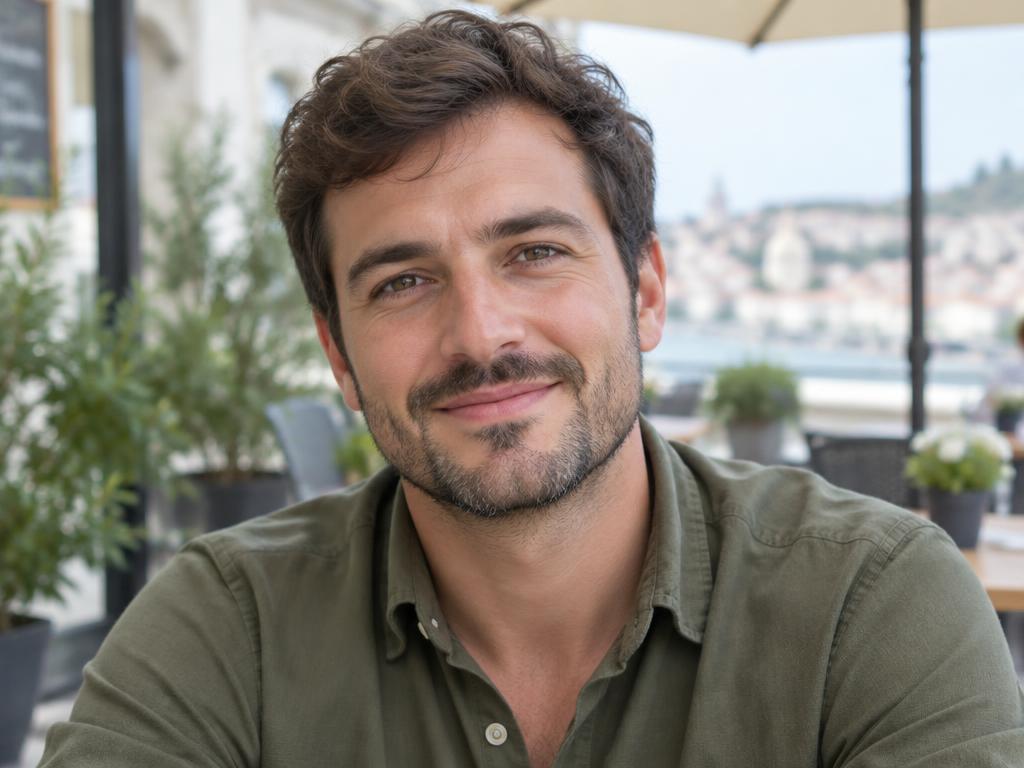
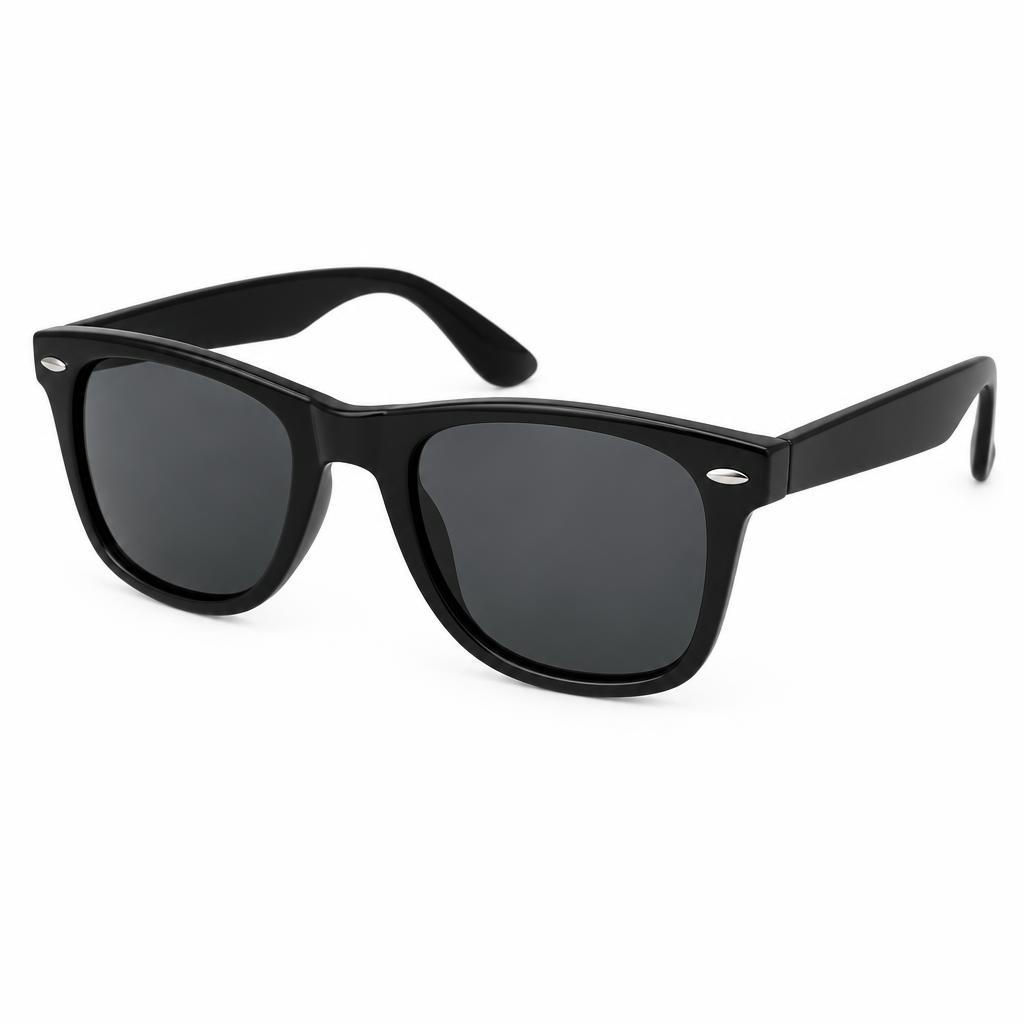
“Add the black wayfarer sunglasses from image 2 onto the man’s face, aligned with his head angle, with subtle daylight reflection in the lenses. Keep his face, hair, clothes and the background exactly unchanged.”
To add objects to photo means inserting something new — a product, a pet, a prop — into an existing picture as if it had always been there. The model studies the scene’s light, perspective, and scale, then renders the new object with matching shadows and reflections so the edit reads as photography, not collage.
The twist here is the source image. When you add objects to image this way, the thing being inserted is not generated from a text description — it is taken from a real photo you uploaded. Your product, your pet, your prop, exactly as it looks. And when text is enough, a plain instruction works too: “add a red balloon near the kid”. Either way, you add objects to photo in under a minute.
Three steps, and you add objects to photo in about thirty seconds.
The scene you are editing — a room, a beach, a desk. One main photo per edit keeps the composition anchored, so the new object has a stable scene to land in.
Upload 1–15 object photos — the exact things to insert — or skip sources and describe the object in the prompt instead.
Pin where it belongs in the main photo (optional but powerful), review the blend, iterate, and download. Every version stays in your assets, and any result can anchor the next edit.
One object per pass. Two insertions in one render split the model’s attention — run two passes; each is seconds and one credit.
Say the size and the place. “A small basil plant on the left of the counter” blends better than “add a plant”. Scale and position are what make it believable.
Annotate when placement matters. A pin in the main photo beats a paragraph of directions — the model gets the exact spot, and the scale follows.
Same tool, four everyday jobs.
Furnish empty corners with plants, lamps, and chairs from real product photos — listings that look staged, not rendered.
Put your pet into vacation photos, your kid’s drawing onto the fridge shot, your friend into the group photo they missed.
Place the product into desks, counters, and hands — one packshot becomes a whole lifestyle catalog, with the same product photo reused across every scene.
Balloons behind the cake, pumpkins on the porch, snow on the driveway photo — festive without the setup.
That is the point of the source photo: the object arrives with its real texture and shape, and the model matches the scene’s light, perspective, scale and shadow. For the cleanest blends, add one object per pass and say where it goes.
The edit is scoped to the insertion. Everything outside the new object stays anchored to the original photo — same people, same furniture, same framing.
You can attach up to 15 source photos in one edit, and one render can place more than one object. In practice, one object per pass blends noticeably better, and each pass is seconds.
No. Sources are how you get the exact object; without one, just describe it in the prompt — “add a red bicycle on the lawn” — and the model invents it. Sources make it yours; prompts make it fast. That is the real difference when you add things to image AI tools imagine versus objects you actually own.
PNG, JPG, JPEG, or WebP up to 20MB per image — one main photo plus up to 15 object sources per edit. Output follows your chosen aspect ratio, or the photo’s original framing with “auto”.
Yes. Every plan, including free credits, allows commercial use of your edits — listings, ads, client work. You must own the rights to every photo you upload, and you keep ownership of the result.
Failed renders refund automatically — the credit returns to your balance the moment the task fails, no ticket needed.
Free credits on sign-up. No credit card required.