GPT ImagesGPT Images

Powered by ChatGPT Images 2.5

Sketch to Image: rough drawings in, finished art out

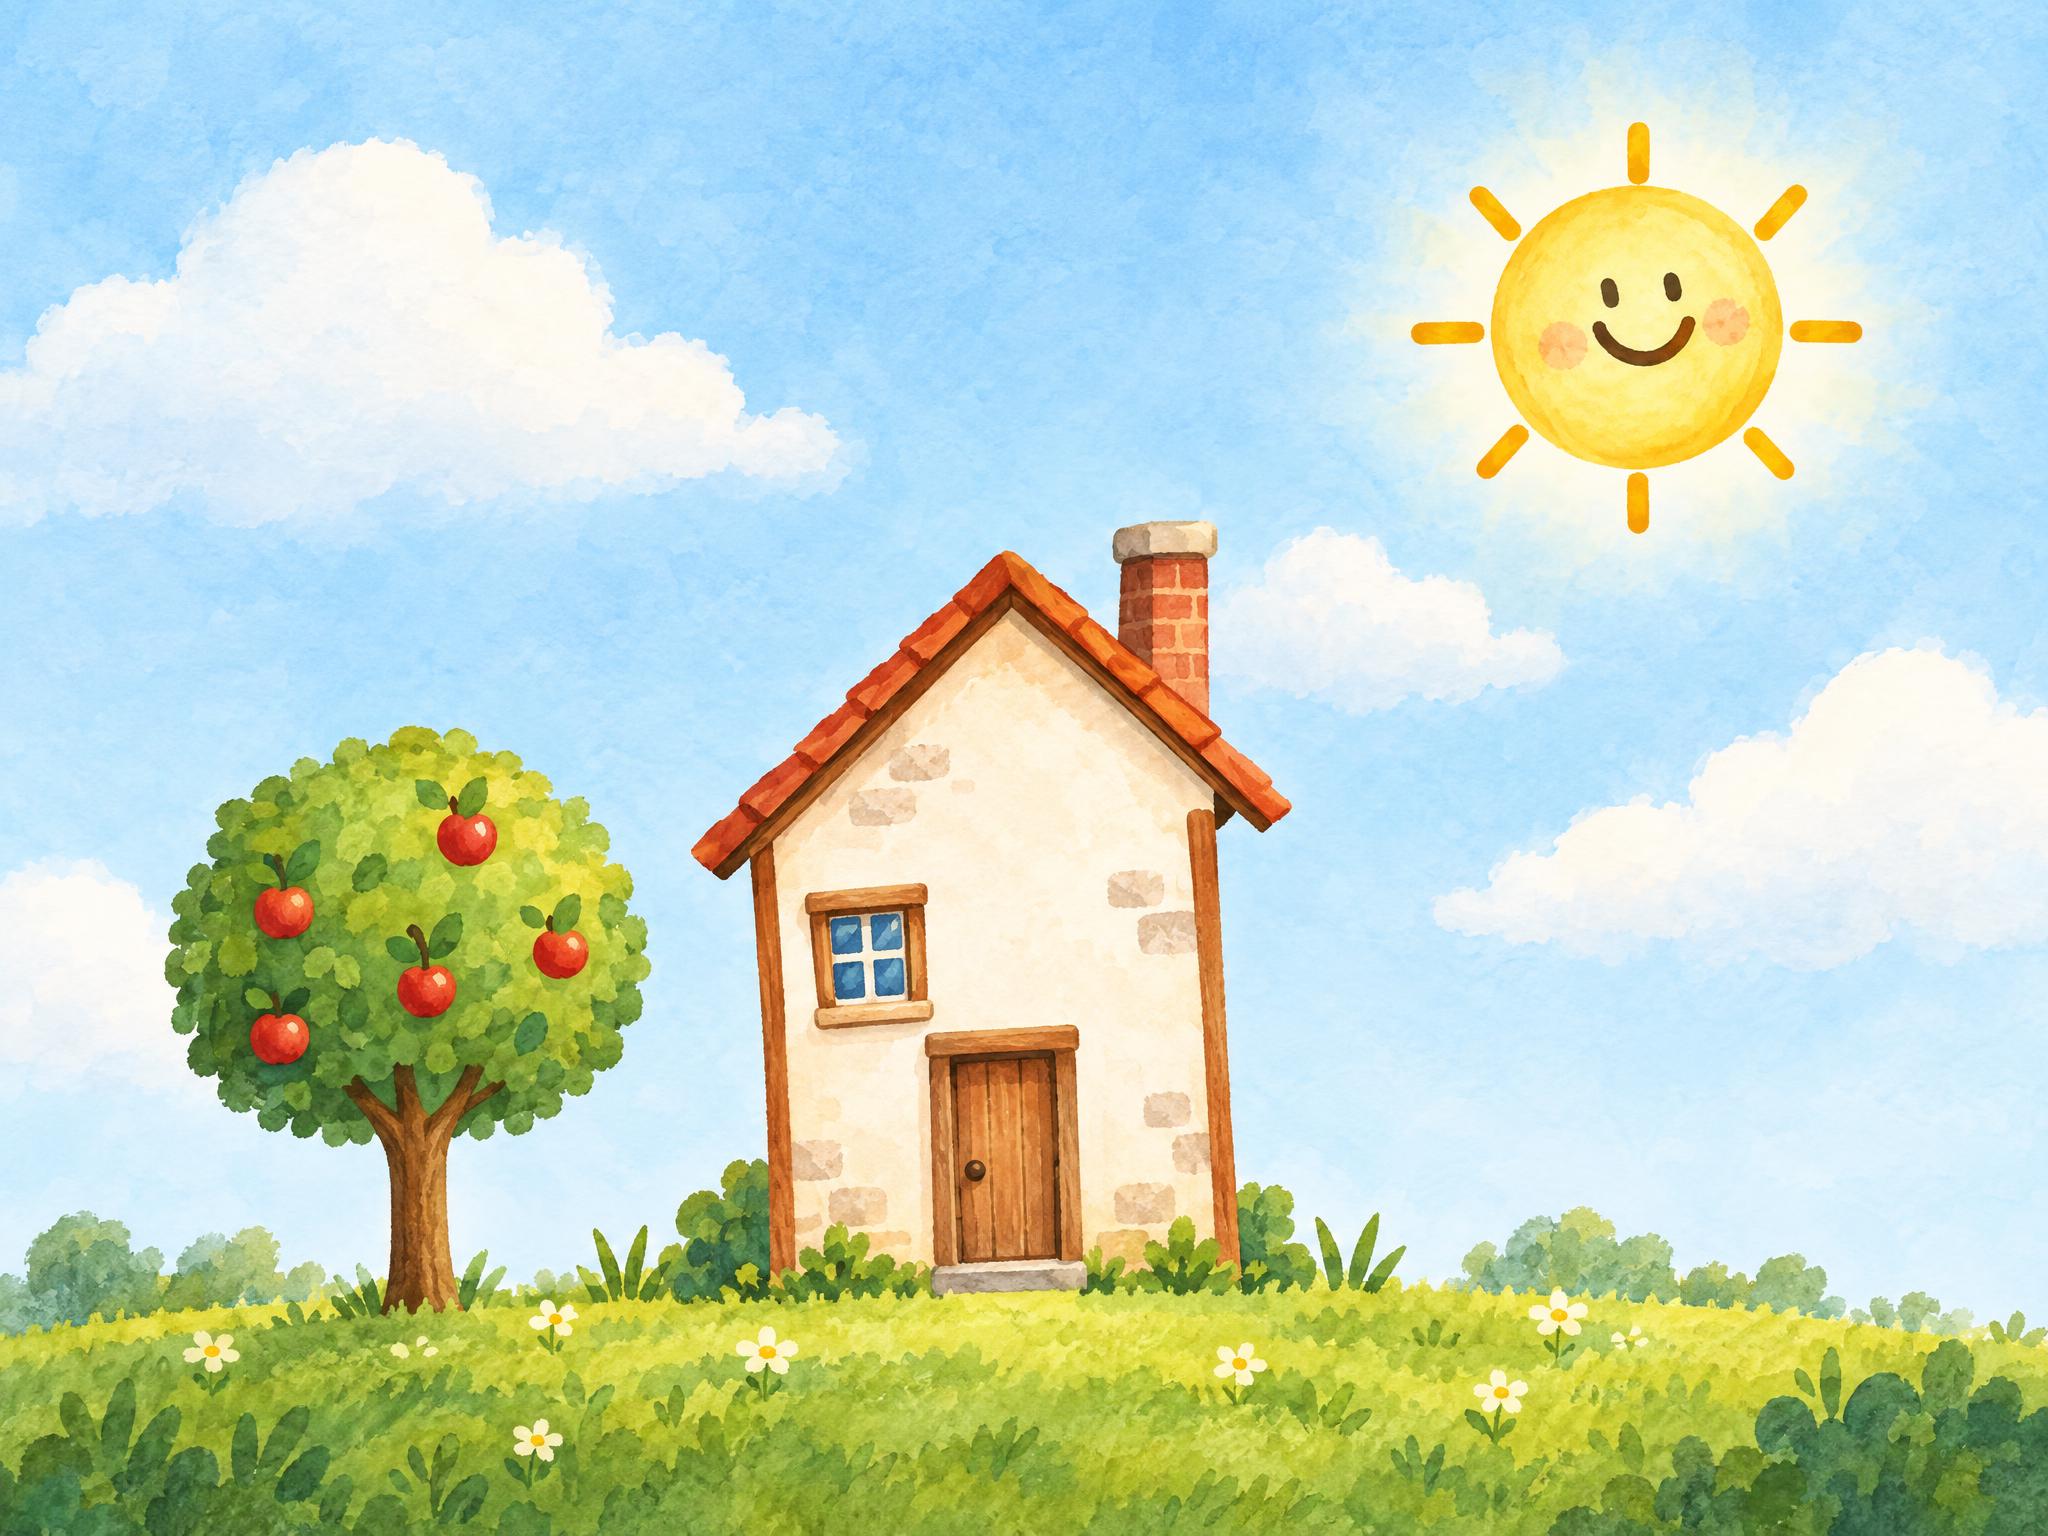
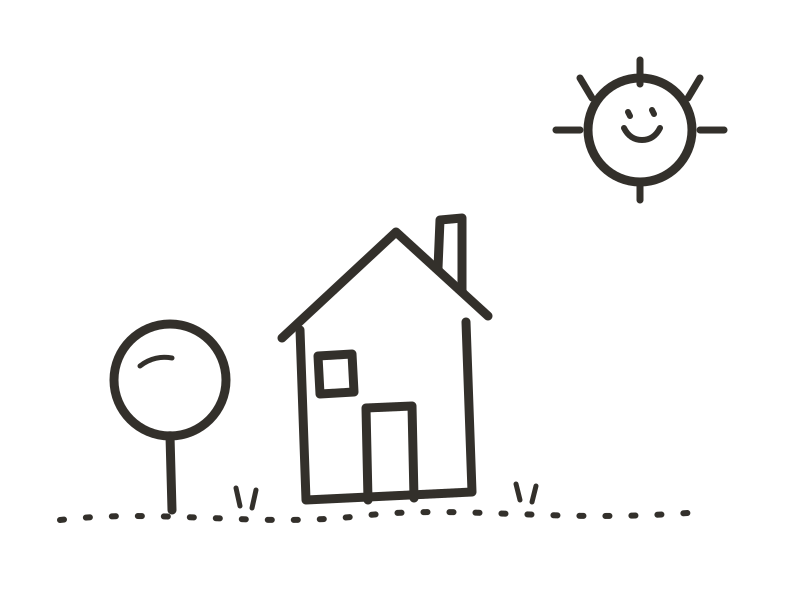
GPT Images makes the sketch to image workflow effortless. Draw a rough composition, describe the mood, and ChatGPT Images 2.5 renders a finished image that follows your layout exactly — position, proportion, and perspective intact.

Free credits on sign-up · No credit card required

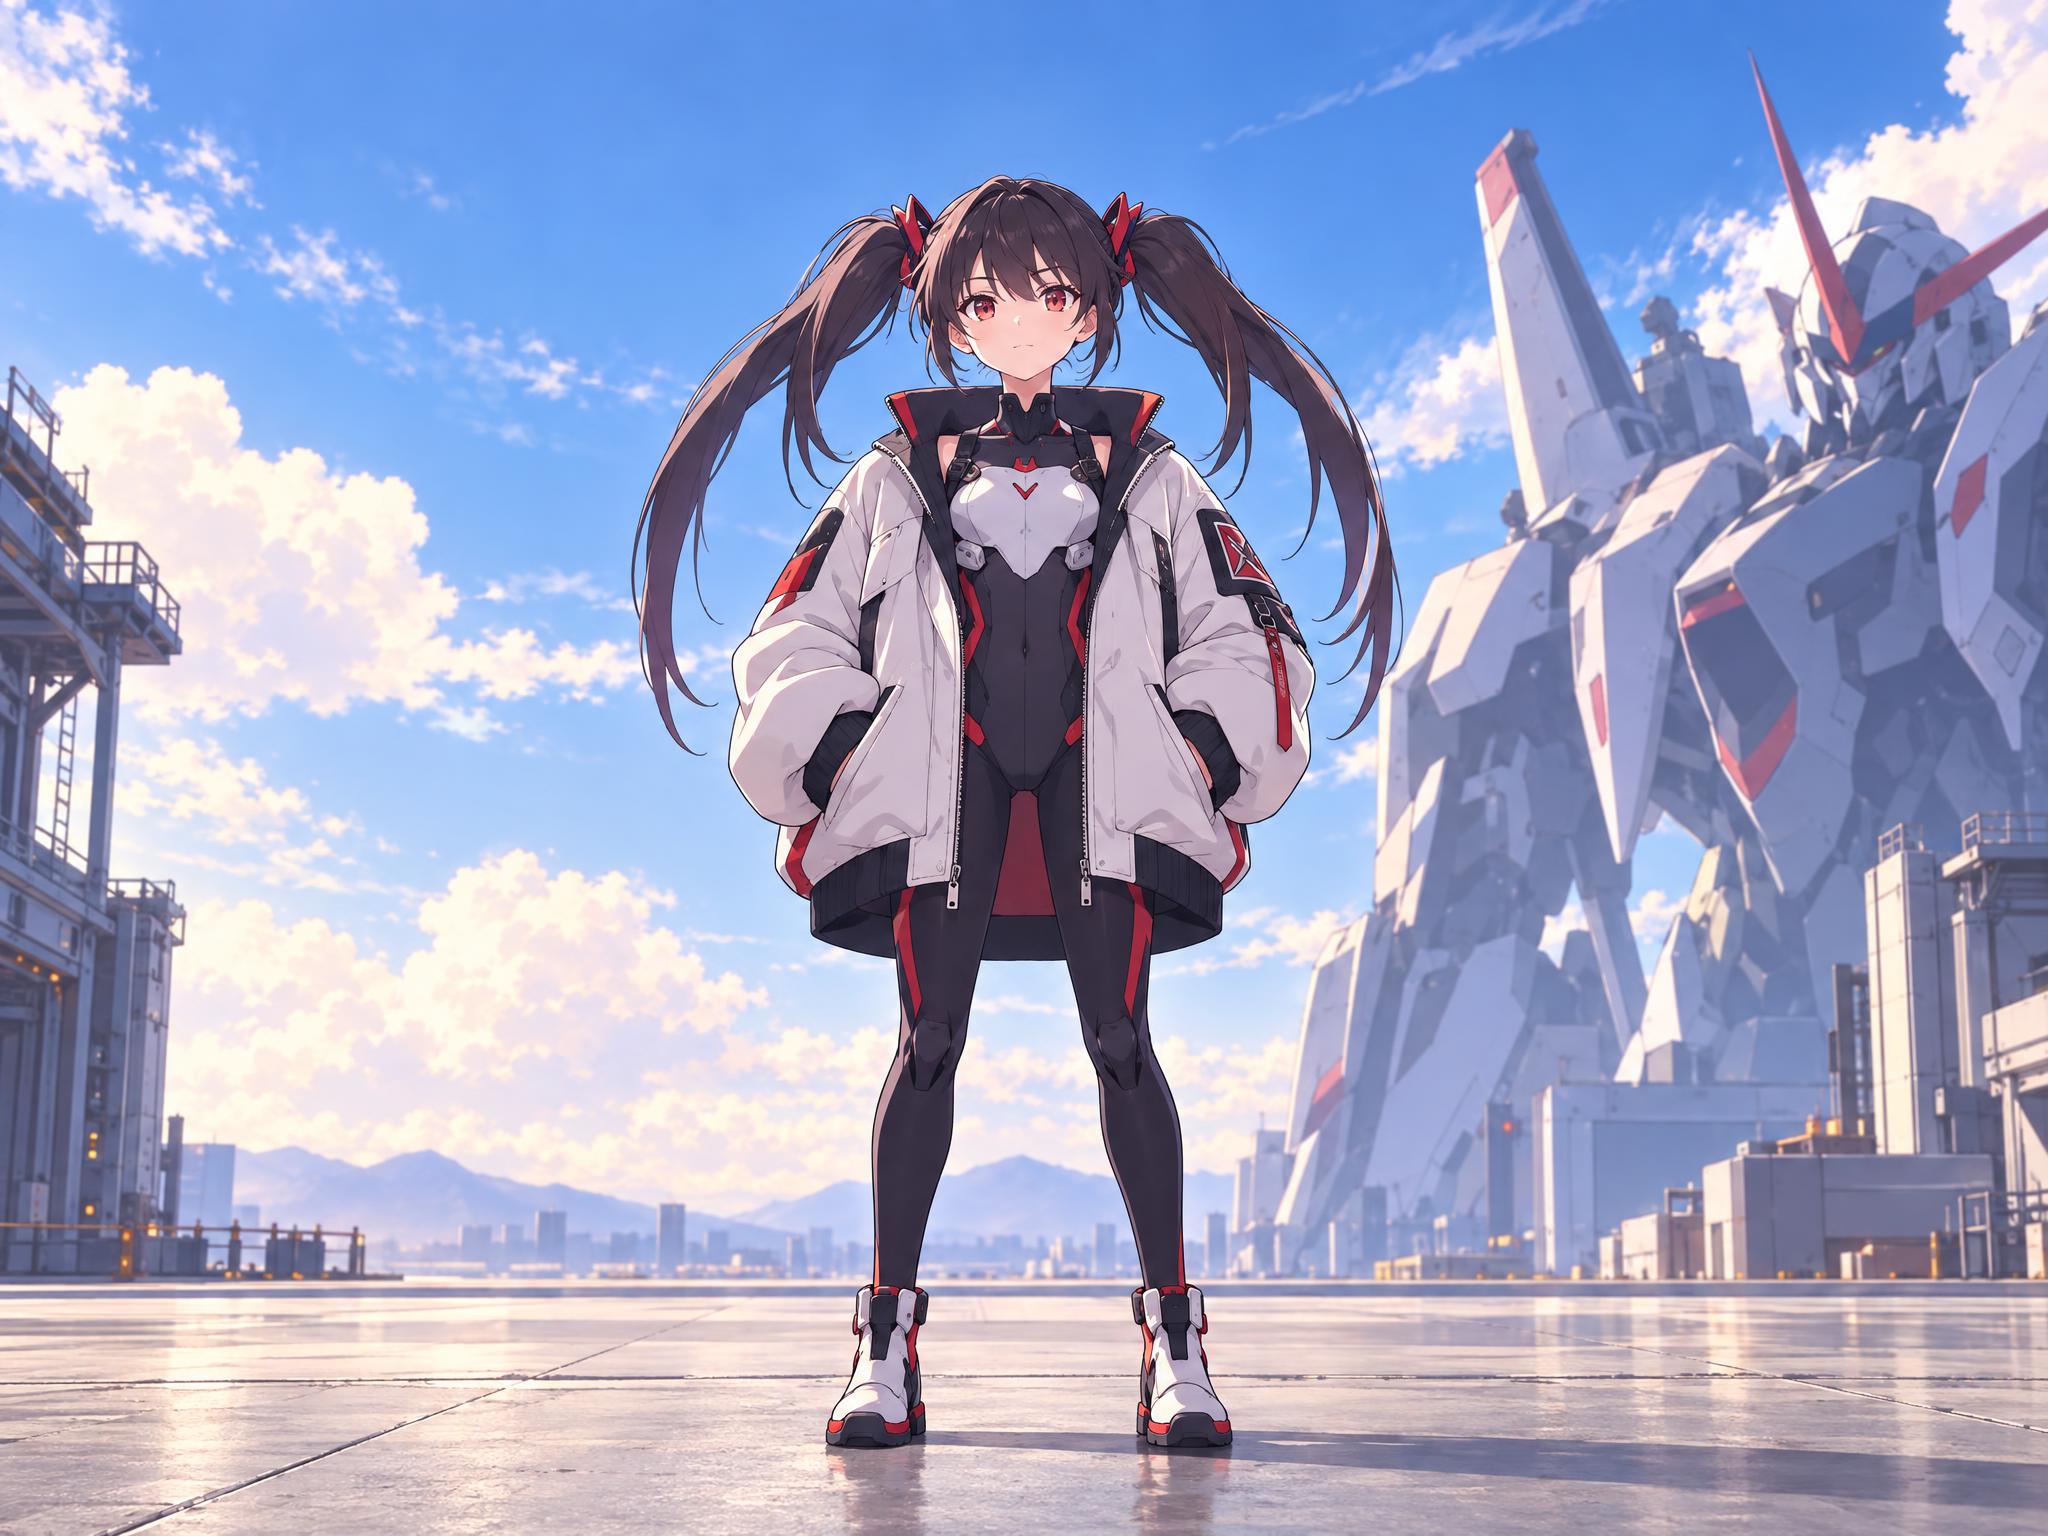
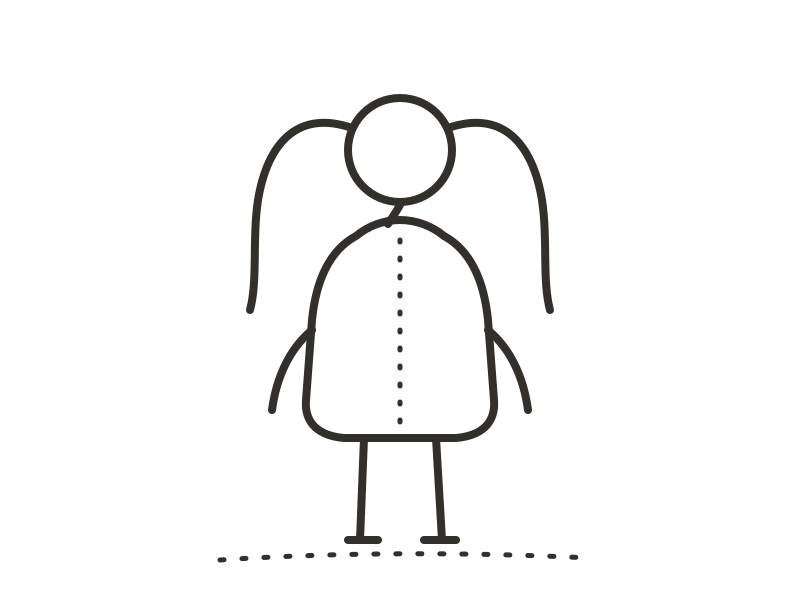
Example
SketchGenerated
Example

What is sketch to image?

Sketch to image is an AI workflow that converts hand-drawn input into a complete image. Instead of translating your visual idea into a written prompt and hoping the model guesses the layout, you draw the layout — stick figures and boxes are honestly enough. The model reads the geometry, perspective, and proportions of your drawing, then renders a polished image that follows it.

On GPT Images, it is not a separate toy. The feature shares the same studio, models, and credit system as every other creation mode, so a rough drawing and a professional render are always one click apart.

Why ChatGPT Images 2.5 leads sketch to image

The model behind the engine, and what it means for your drawings.

It reads geometry, not just words

ChatGPT Images 2.5 interprets the geometry, perspective, and proportions of your sketch. A stick figure on a rooftop can become a movie still because the model treats your drawing as a spatial instruction, not a doodle to ignore.
Your layout is the law

Position, size, and framing come from your hand. If the subject is small and left-of-center in your sketch to image input, it stays small and left-of-center in the output — one of the hardest things to get from a text-only prompt.

Combine sketches with real photos

One request can carry up to 16 reference images. Draw the layout, attach a product photo for identity, and the model merges them into one coherent scene — composition from your hand, fidelity from the photo.

Iterate without losing identity

Multi-turn consistency keeps faces, products, and compositions anchored across edits. The first result is a starting point you refine, not a lottery ticket you re-roll — a version two is a version one plus your edit, nothing more.

Fast enough to think with

Flare returns in about 5–10 seconds, so the loop stays conversational: draw, glance, adjust, draw again. Sunburst takes 25–45 seconds for print-grade finals — you pick speed or precision per render.

Multiple sketches at once

Stage a scene with several sketches — the layout in one, the product shape in another. Each drawing takes one reference slot, and the model composes them together in a single pass.

How it works

Three steps from rough lines to a finished render.

01

1 · Draw the composition

Open the sketch pad and draw where things stand, how big they are, and where the horizon sits. Rough is fine — the model reads intent, not brushwork. Draw several sketches if the scene needs them.

02

2 · Describe the finish

Add one or two sentences of direction: setting, mood, lighting, style. The words shape the finish while the sketch itself locks the layout.

03

3 · Generate and refine

Generate, then keep working on the result: point at regions to edit them, or draw over the canvas to add elements. Every version is kept, so you can compare and roll back.

Who is it for?

Designers who think visually and hate wrestling prompts into shape. Marketers who need a specific composition for a campaign by five o’clock. Teachers and parents who want to see a drawing come alive. Filmmakers blocking a scene before a shoot. Anyone who has ever said “I can picture it, I just can’t describe it” — because now the picture is the description.

Three habits for better results

What experienced users do differently.

  1. 1

    Draw the skeleton of the scene first: horizon line, subject position, and the biggest shapes. These three cues carry almost all of the spatial information. Details can come later — or never, because the model invents them convincingly on its own.

  2. 2

    Use color loosely as a hint. A green blob reads as foliage, a blue wash as water or sky, a warm circle as a lamp. You are labeling the world, not painting it — think of your strokes as annotations rather than artwork.

  3. 3

    Say what NOT to keep. One short line like “no hand-drawn lines in the output” stops the model from preserving sketch marks when you want a photographic finish. Small instruction, big difference in how clean the result looks.

What people create with it

Real workflows from the community — drag the handle on each card to compare the sketch with the finished image.

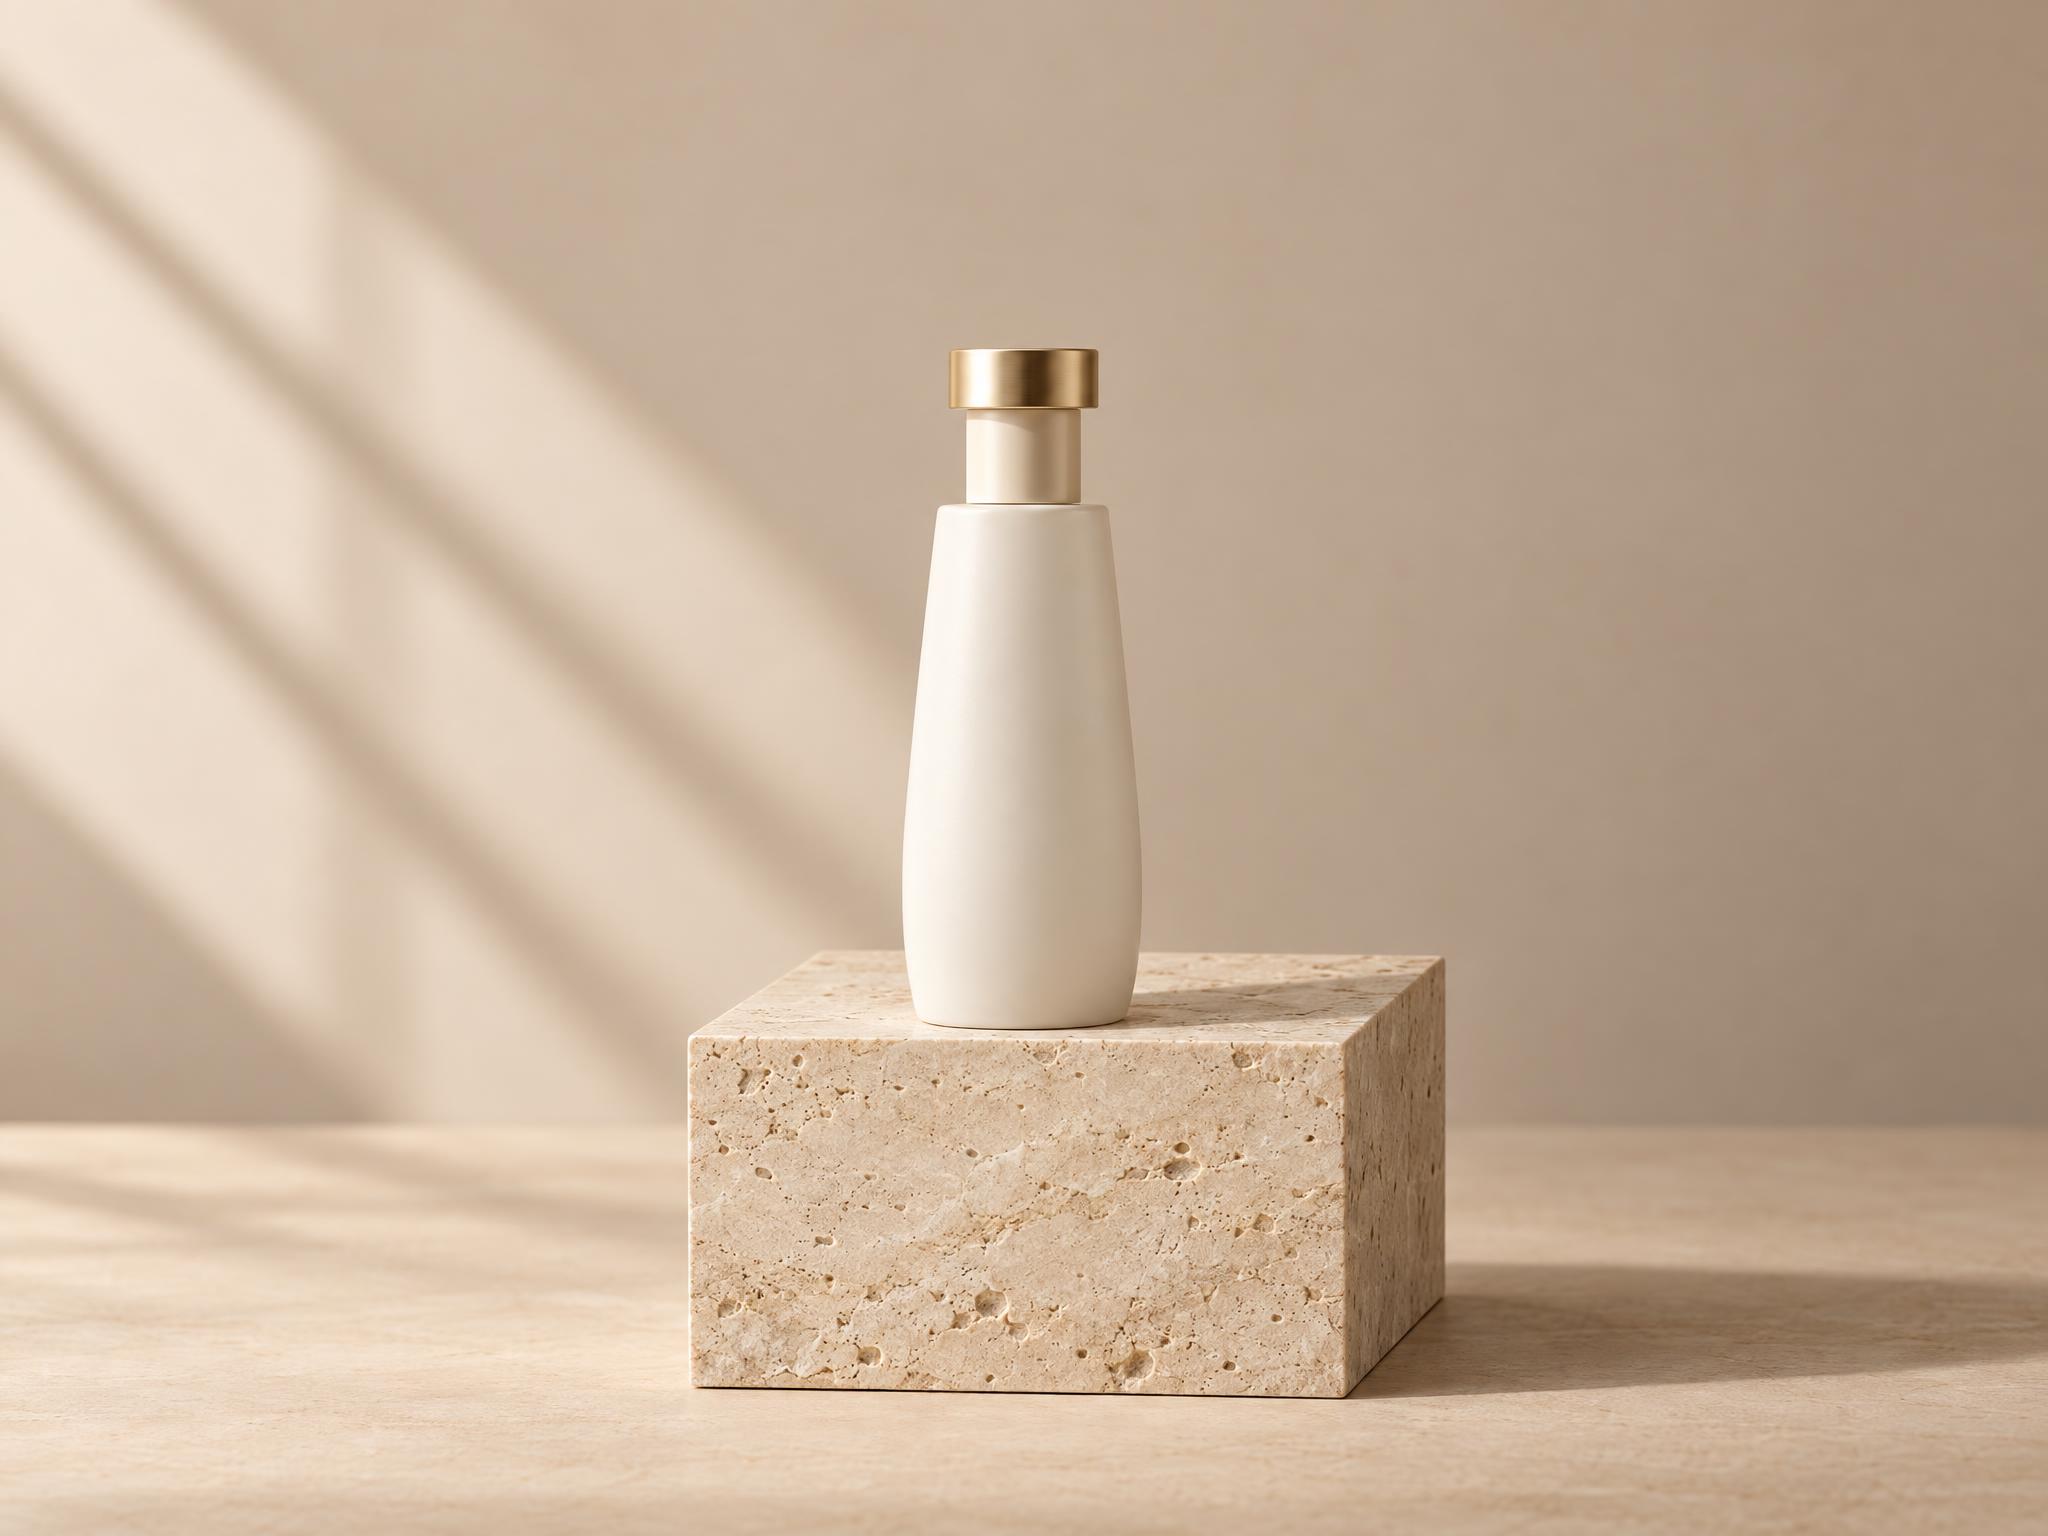
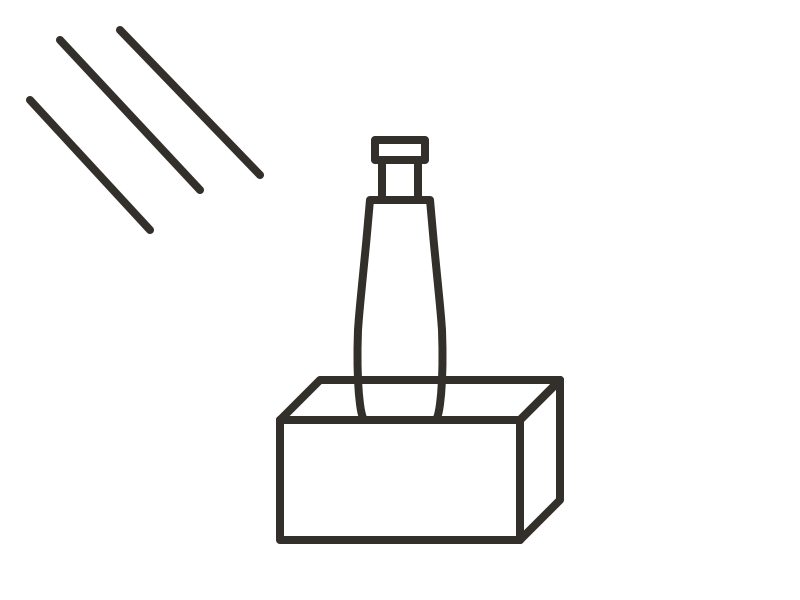
Product hero shot generated from a sketched bottle on a pedestal
SketchGenerated

Product mockups

Sketch the bottle shape and background props, and get a studio-grade hero shot with believable shadows and materials. E-commerce teams use it to stage product scenes long before any photo exists — layout first, photoshoot never.

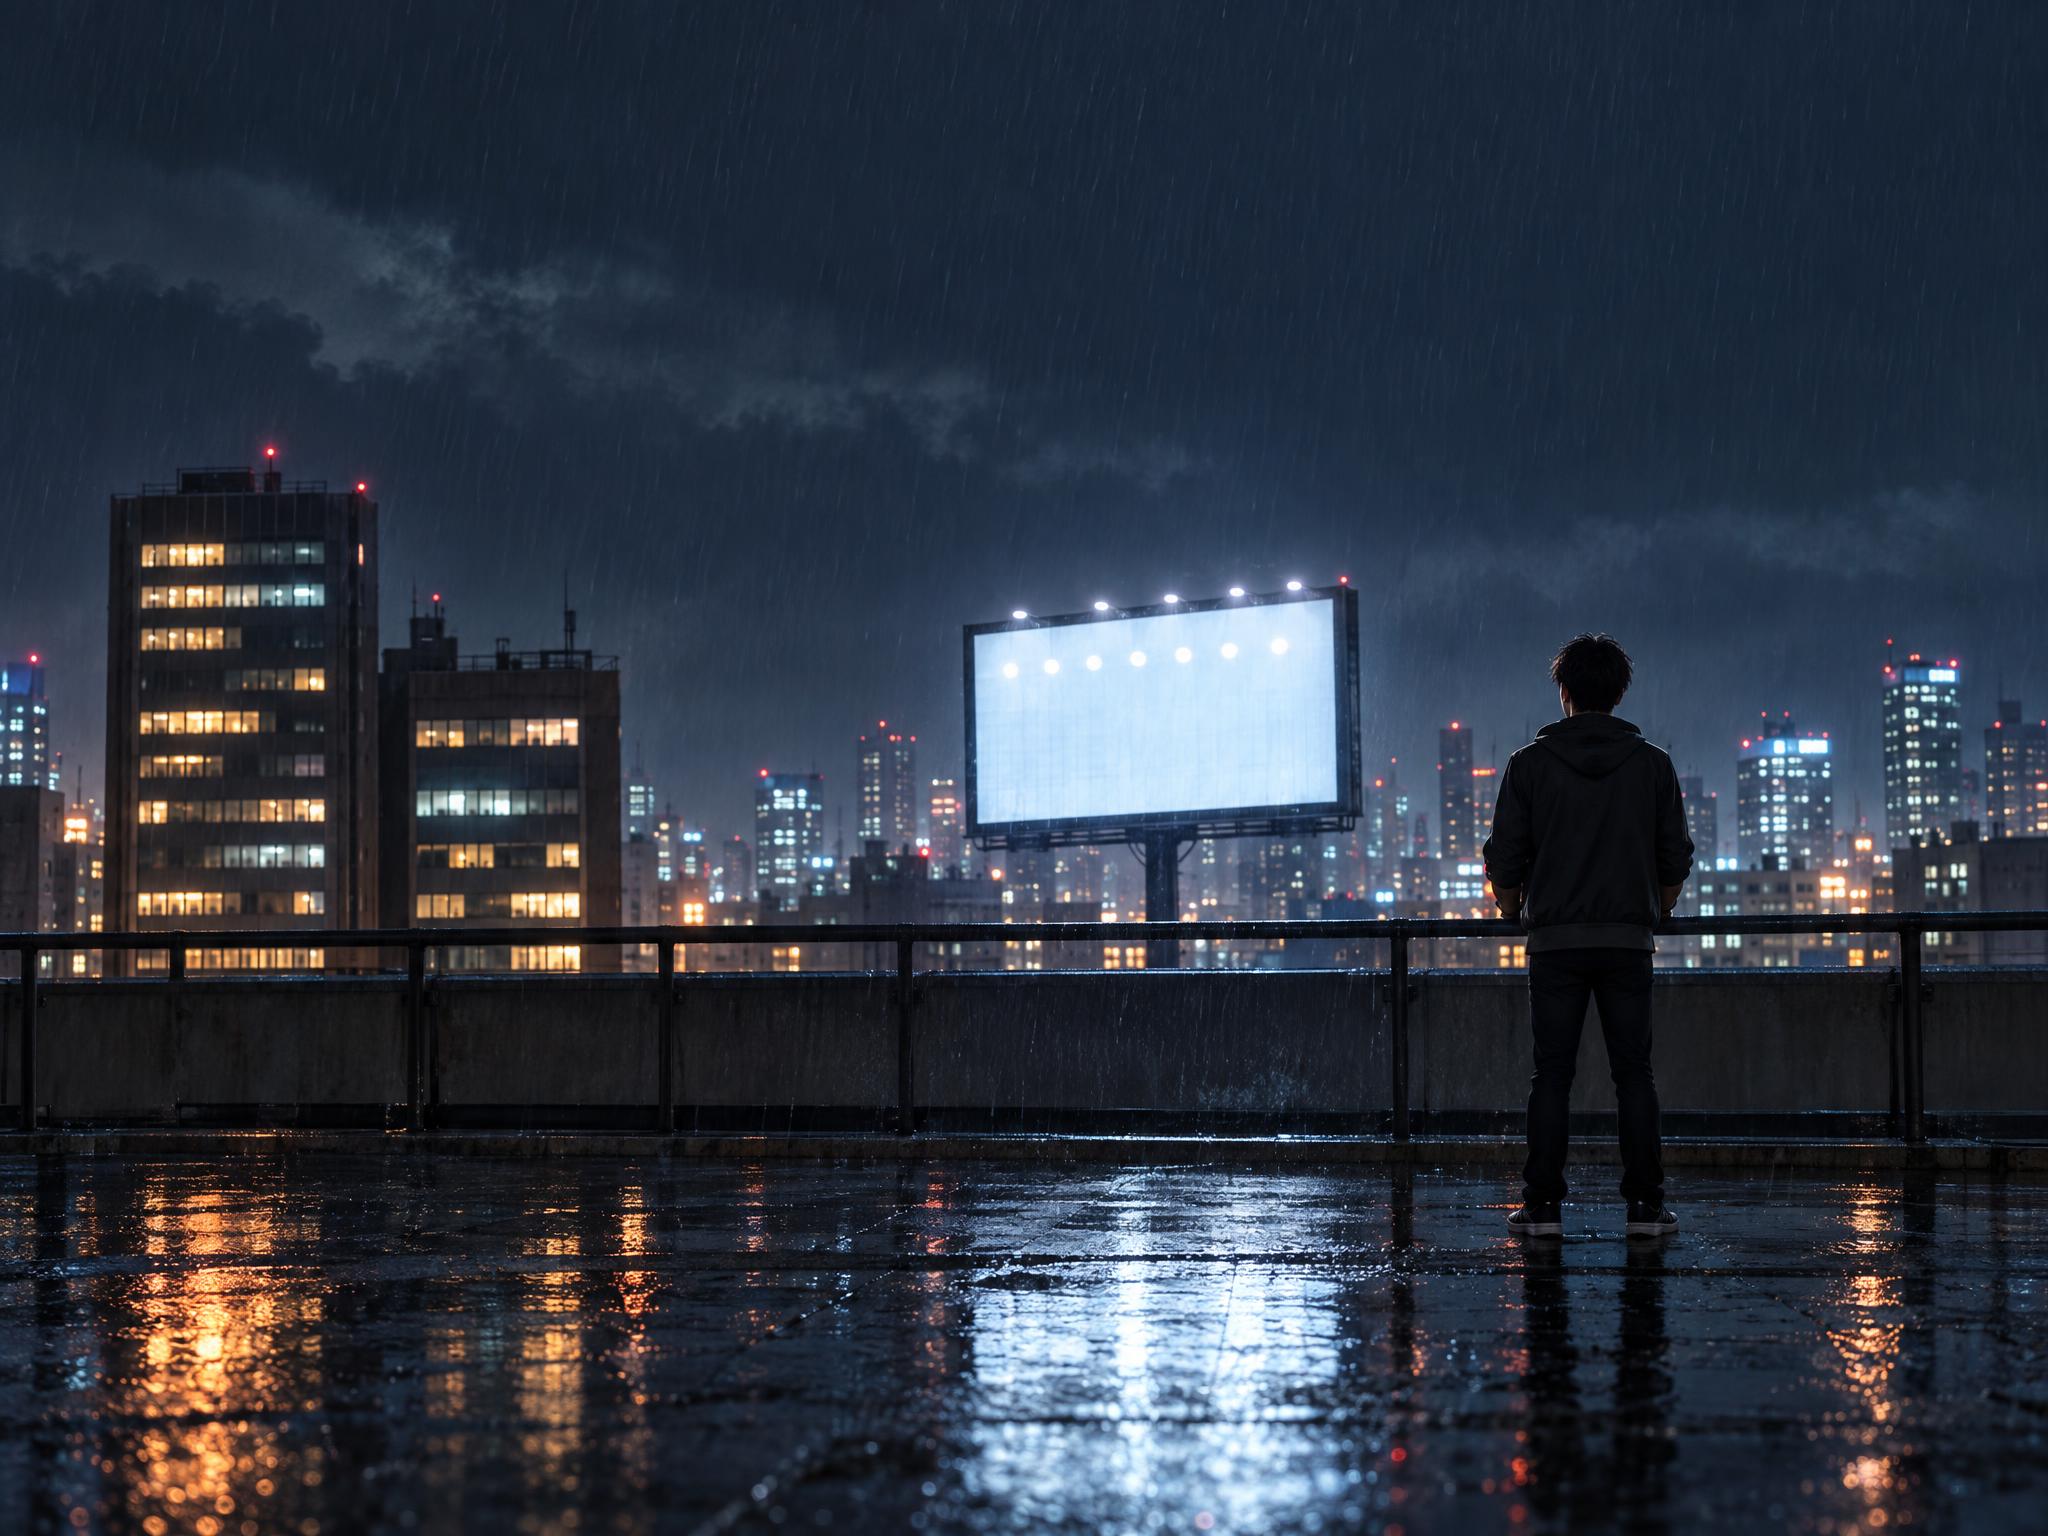
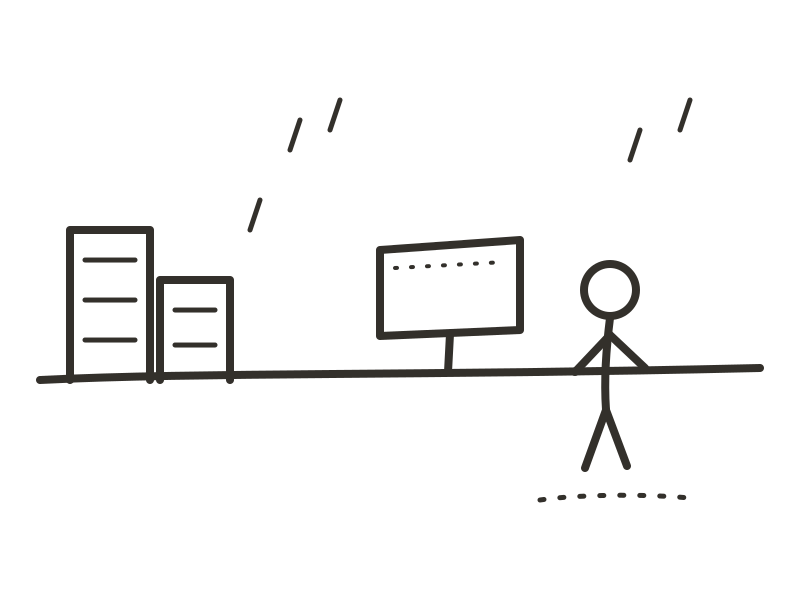
Cinematic keyframe rendered from a stick-figure storyboard frame
SketchGenerated

Storyboards to keyframes

Video creators sketch a shot — subject right, city left, billboard far — and feed the render to a video model. Storyboards become usable keyframes without prompt gymnastics.

Character concept developed from a silhouette sketch
SketchGenerated

Character design

Rough out a silhouette, pose, and outfit shapes, then let the model fill in anatomy, texture, and light. Concept artists iterate on passes like this to explore variations in minutes instead of hours, keeping the strongest sketch and pushing it further each round.

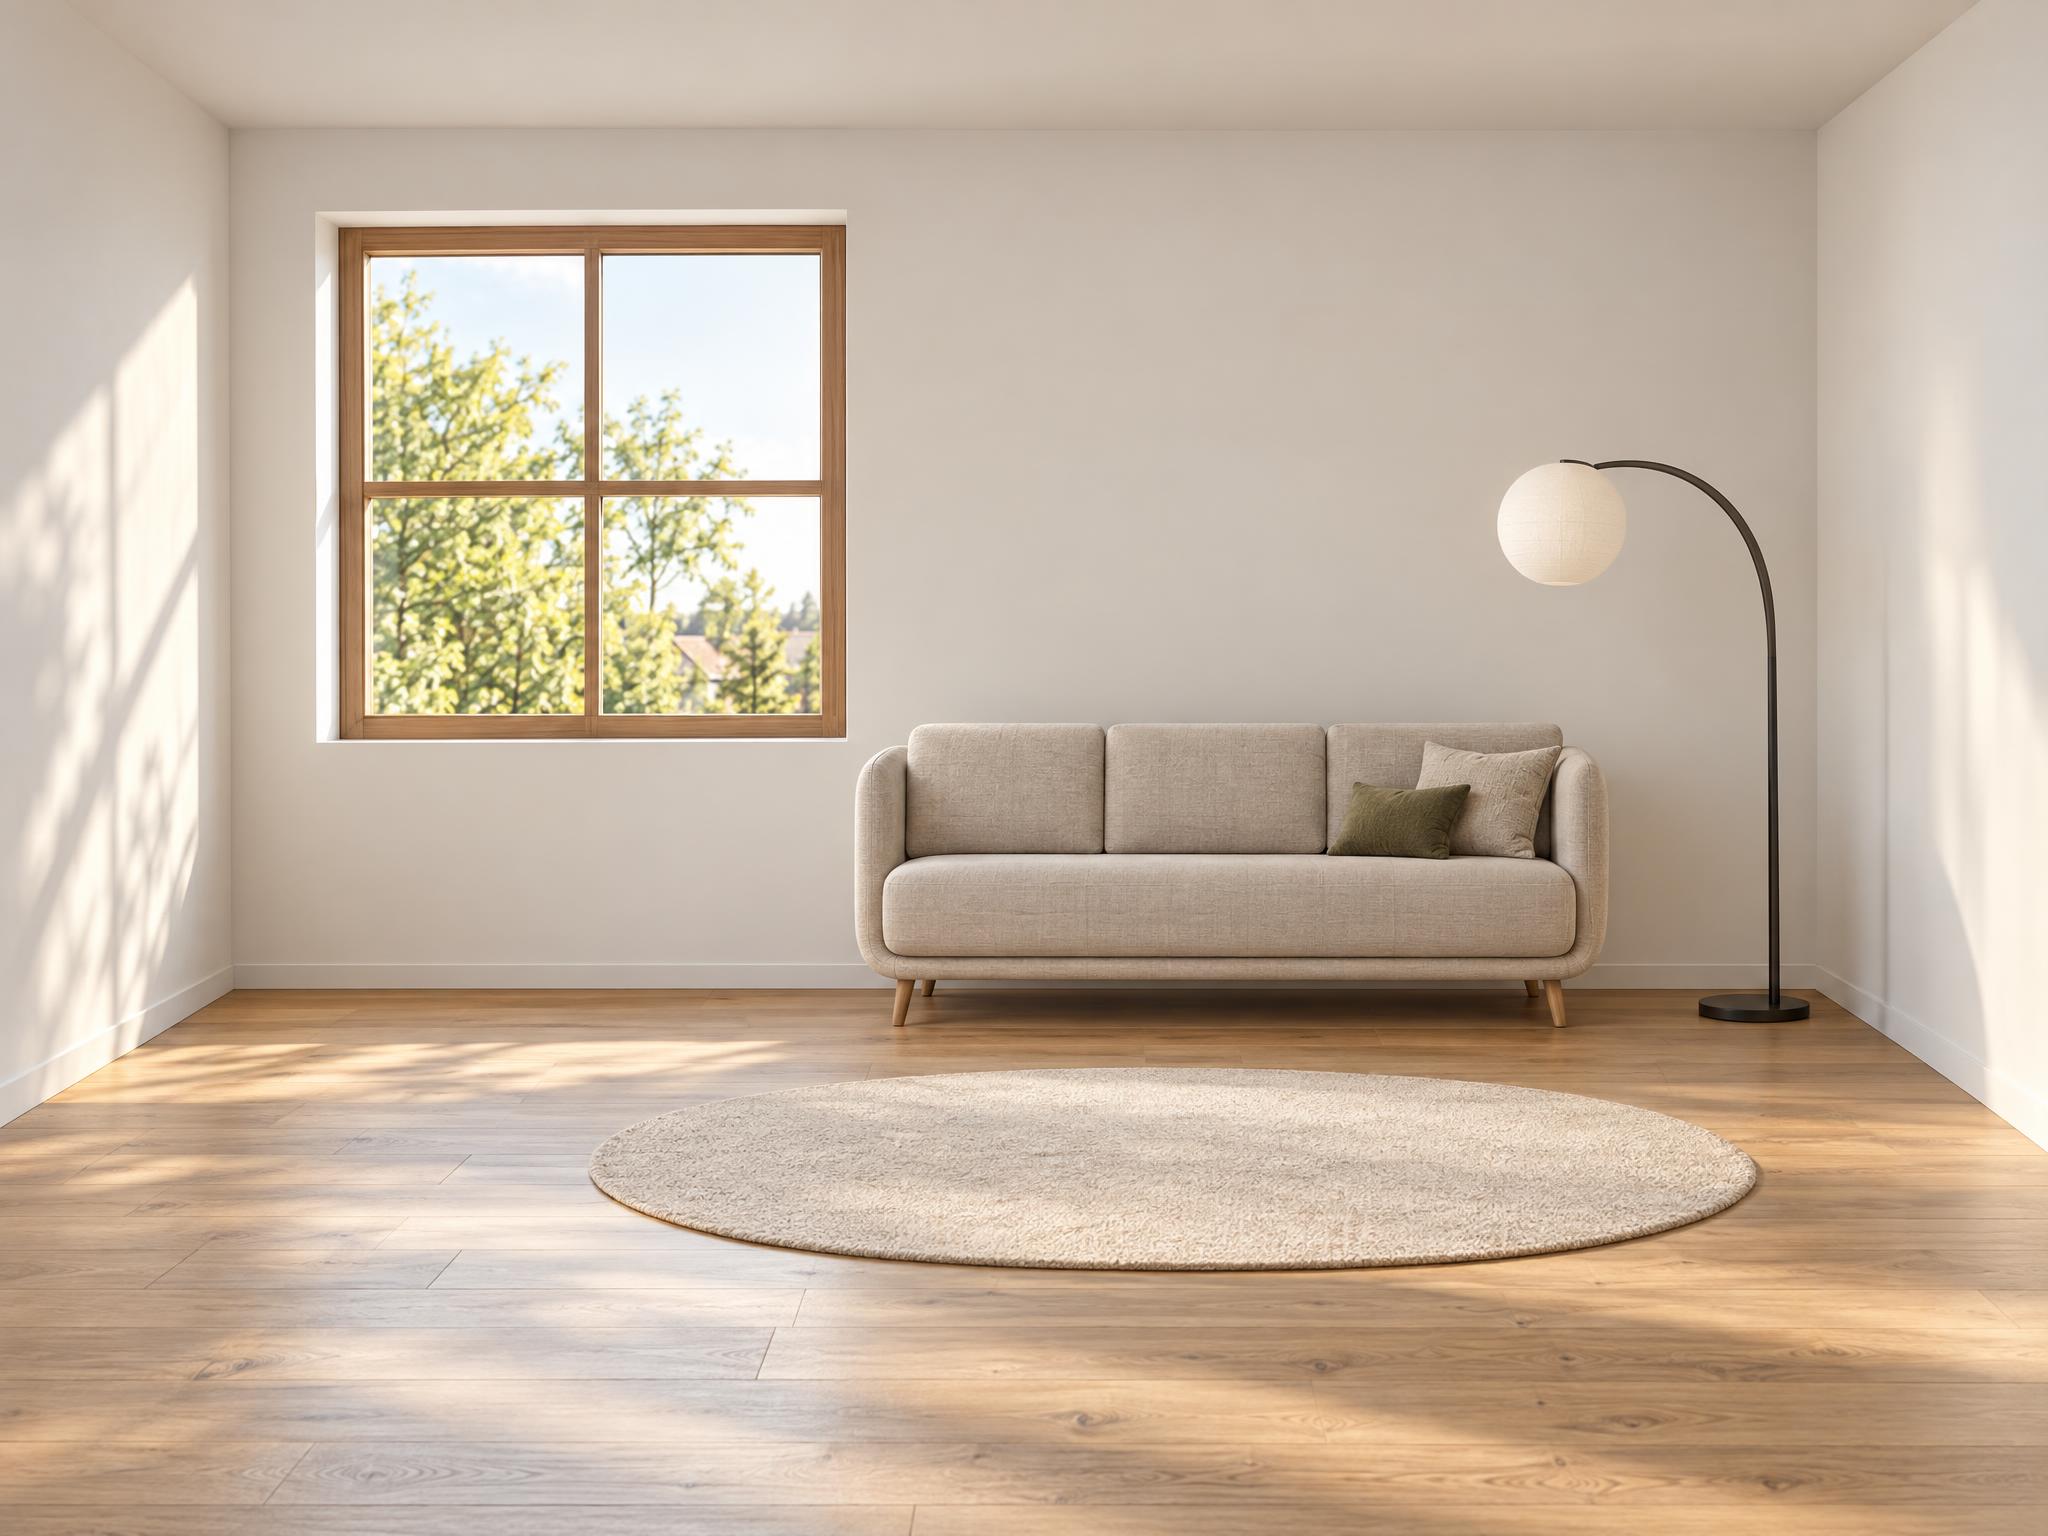
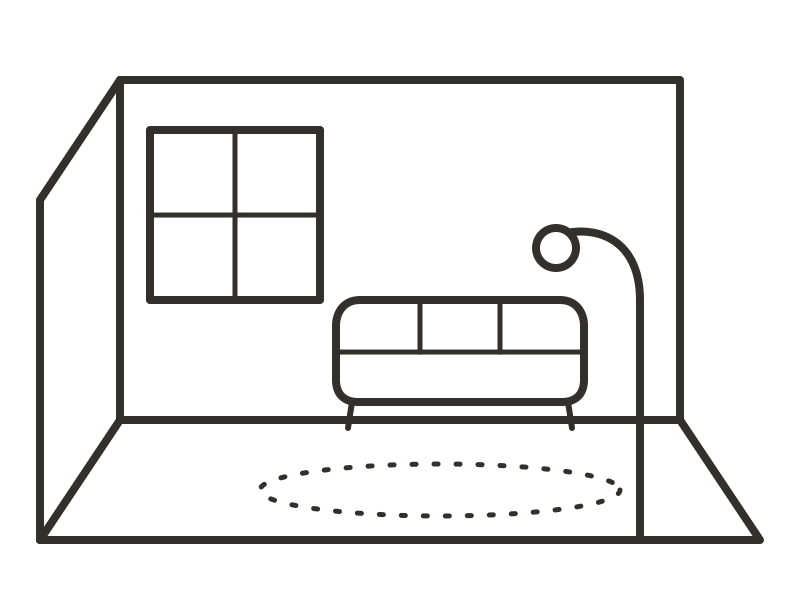
Interior concept built from a room-layout sketch
SketchGenerated

Architecture and interiors

Block out room layouts, window positions, and furniture footprints to preview interior concepts. A drawing communicates scale better than a paragraph ever could.

Child doodle transformed into a finished storybook illustration
SketchGenerated

Kids' art, reimagined

Turn a child’s creature doodle into a finished character portrait with the same pose and personality. It is the most delightful demo you can show a family.

Brand mockups generated from a rough logo sketch
SketchGenerated

Logos and brand drafts

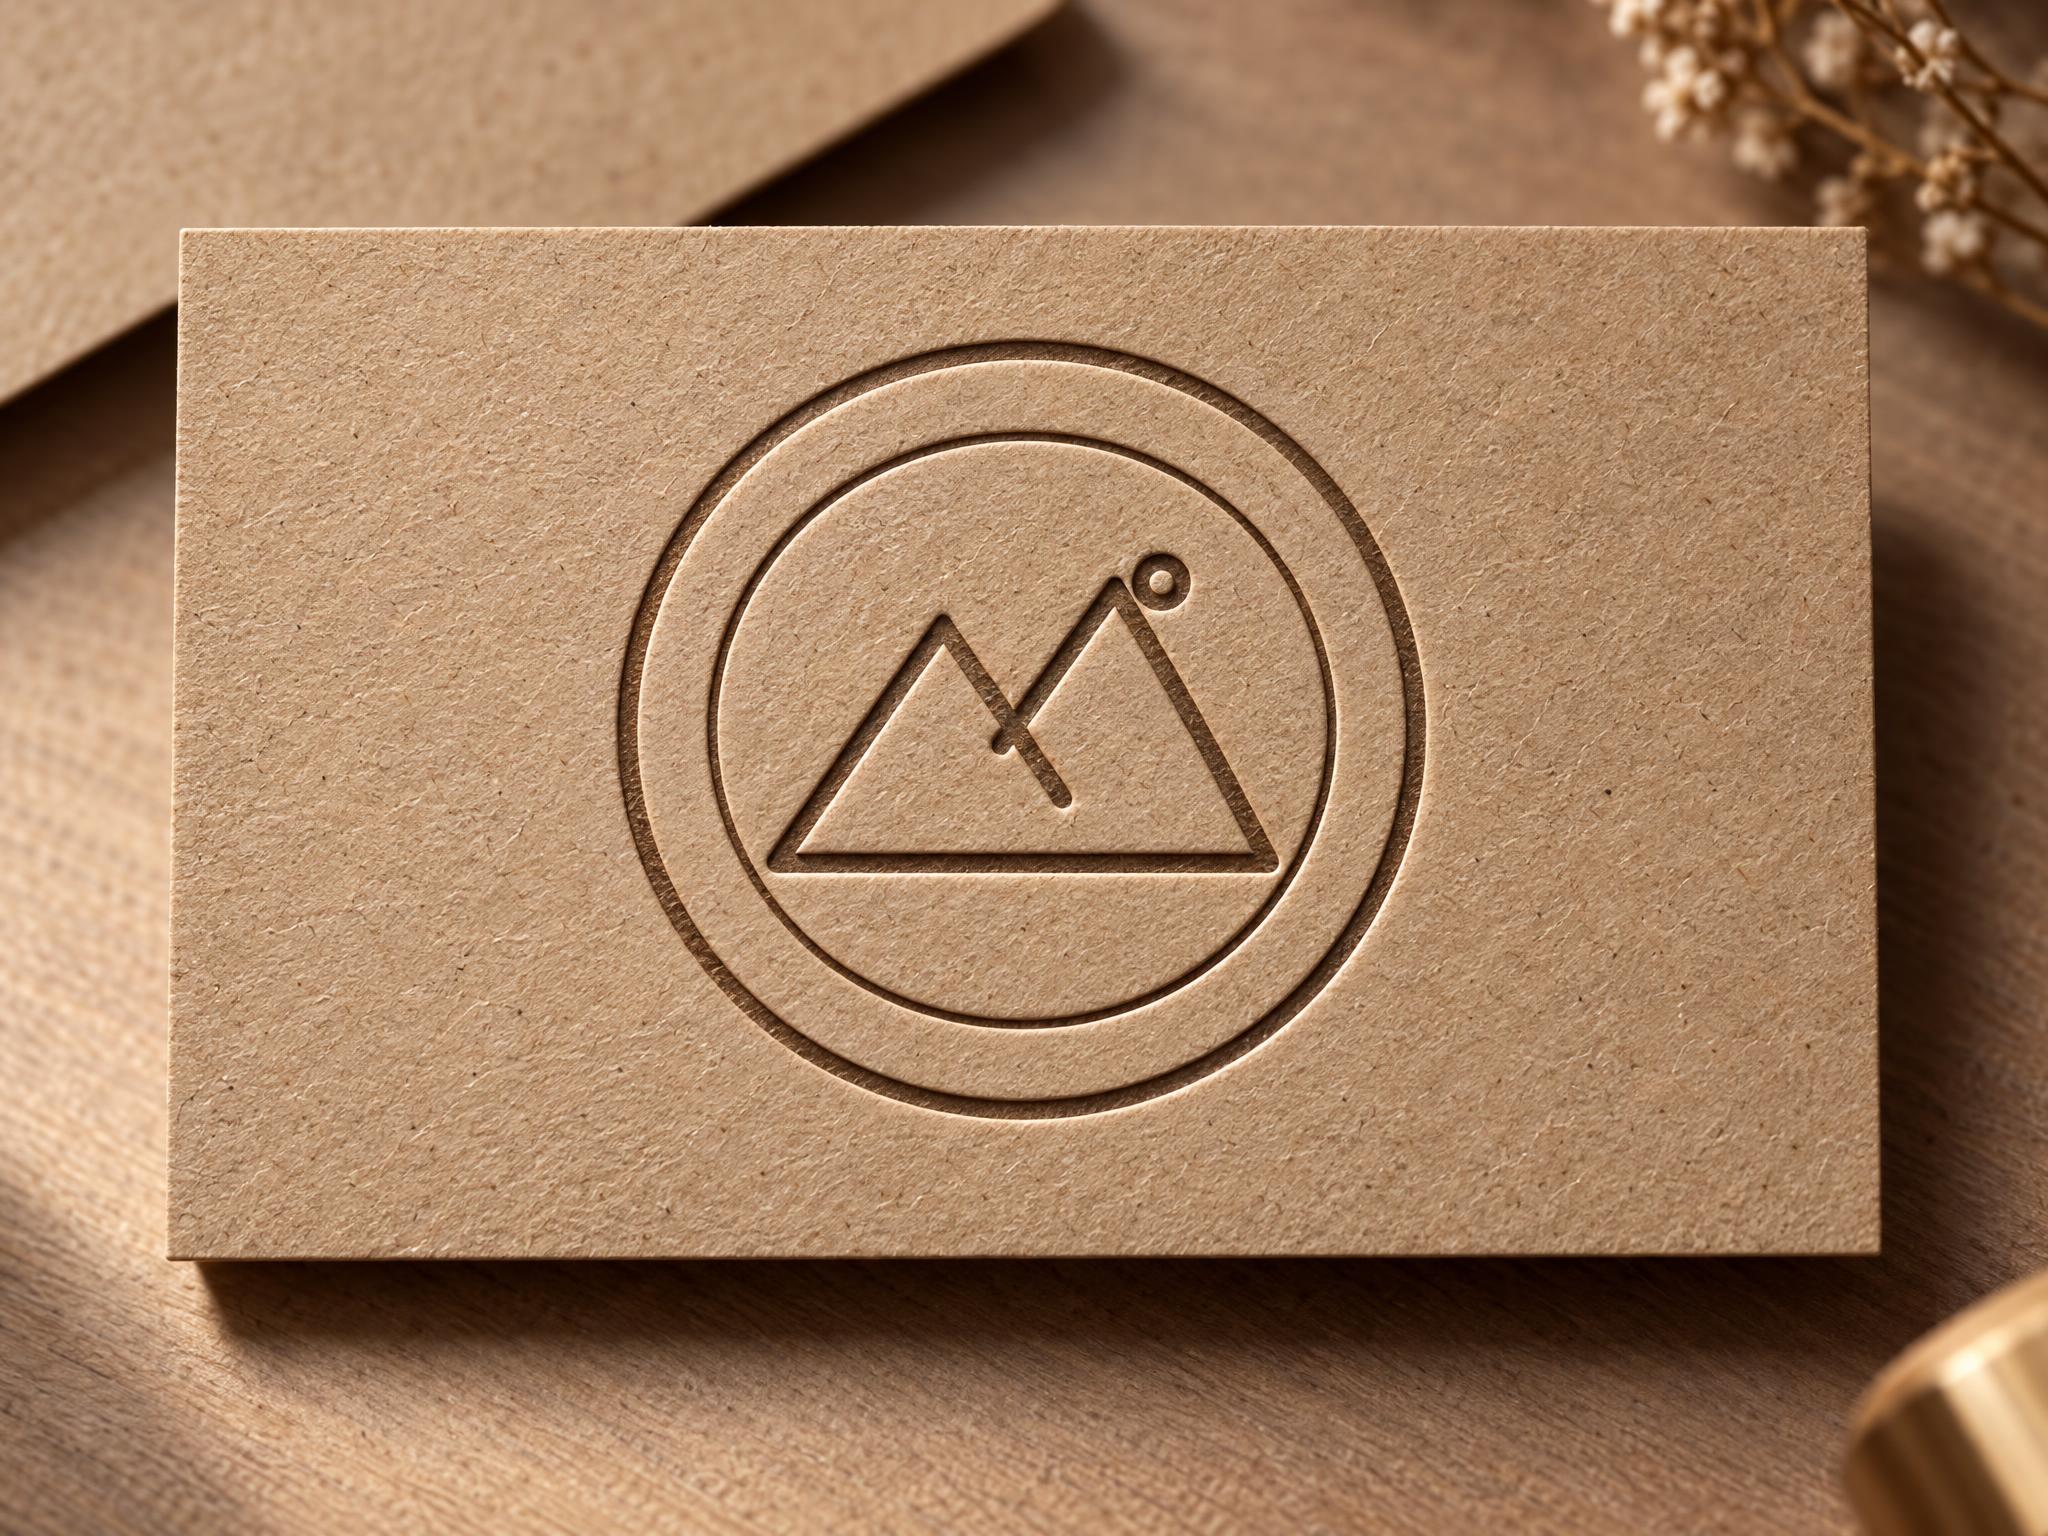
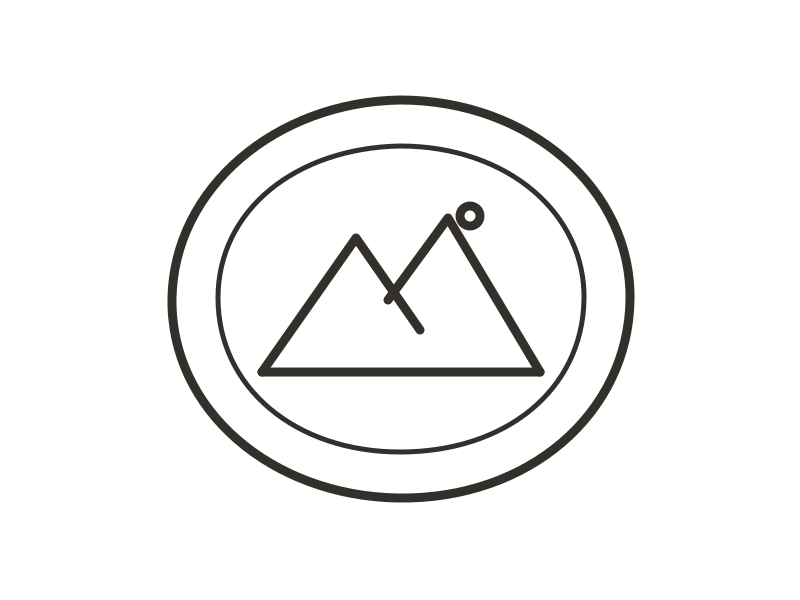
Sketch letterforms or a mark’s geometry and explore styled variations. The structure survives while you test textures, materials, and moods.

Sketch to image FAQ

What is sketch to image, exactly?

It is an AI feature that turns hand-drawn sketches into finished images. On GPT Images it is powered by ChatGPT Images 2.5: you draw the composition, and the model renders a polished picture that follows it.

Do I need to be good at drawing?

No. Stick figures, boxes, and rough outlines work, because the model reads spatial relationships — position, size, and perspective — not drawing skill. Many of the best results start from five-second doodles drawn with a mouse on a laptop trackpad.

Can I use multiple sketches in one request?

Yes. Each drawing occupies one reference slot, and you can combine several of them plus photos — up to 16 in total — in a single request.

Can I combine a sketch with real photos?

Yes — that is where the feature gets powerful. Attach a product, person, or style reference and the model keeps that identity while following your sketched layout. A hand-drawn composition plus a real photo is the single most productive combination we see in the studio.

What does sketch to image cost?

The same credits as any generation on GPT Images: from 1 credit at Draft 1K to 88 at Max 4K. The exact cost is always shown before you click Generate, and failed generations refund automatically.

Can I use the results commercially?

Yes. Images you create are yours for commercial projects, subject to OpenAI’s usage policies. Every output embeds C2PA content credentials for provenance.

Your first sketch to image render is five seconds of drawing away

Open the pad, draw anything, and watch the model finish it. Free credits on sign-up — no card required.