
How to Turn a Photo into a Coloring Page
Learn how to turn a photo into a coloring page with four line-art styles, photo tips, optional prompt guidance, and practical steps for printing.
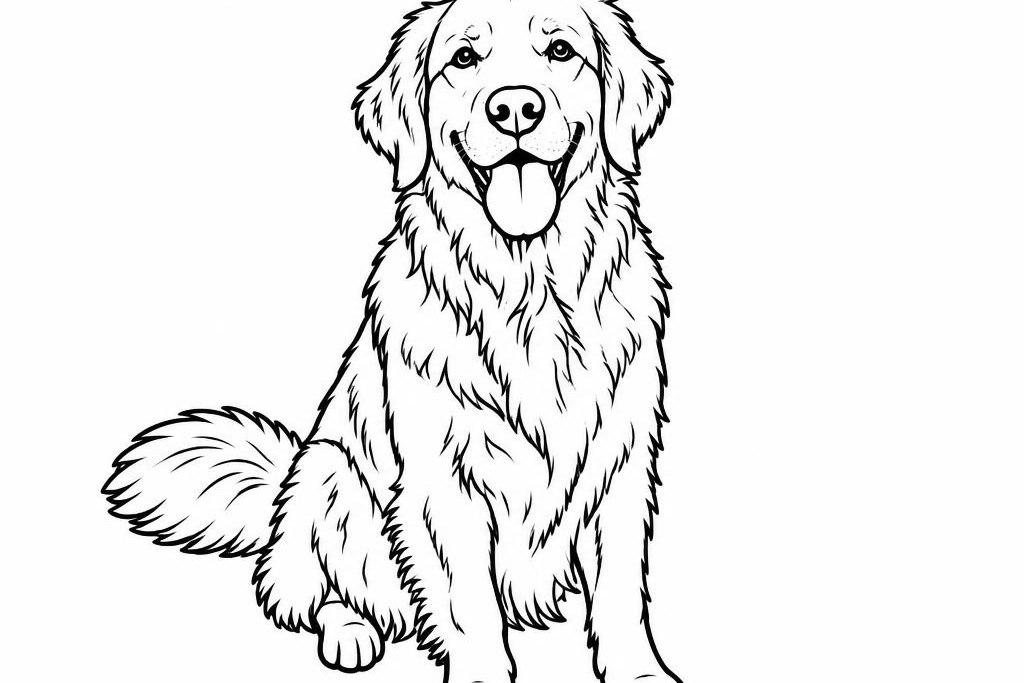
Turning a photo into a coloring page takes more than removing its color. The image needs a new set of outlines and open areas that someone can fill with crayons or pencils. The model may simplify or reinterpret small details, so treat the result as a new illustration based on your photo rather than an exact trace.
The ZingPix workflow uses one source photo and one selected page type; optional guidance can add a preference about detail or background. Open the photo-to-coloring-page tool when you are ready to try it.
- Choose a clear photo with a visible subject.
- Upload one JPG, PNG, or WebP image.
- Select Full Line Art, Simplified Art, No BG, or Old Version.
- Set the frame and resolution, then add guidance only if you need it.
- Generate, check the result, and download the image.
Choose a photo that is easy to read
The source photo gives the model its subject, shapes, lighting, and background. A few choices can make that information clearer:
- Make the main subject easy to find. A person, pet, flower, or toy that fills a good part of the frame is easier to interpret than a tiny subject far away. Crop in if the photo has a lot of unused space, but keep the parts you want in the finished page.
- Look for visible edges and even light. A sharp image with soft, fairly even light gives the model clearer contours. Strong shadows across a face or object can become extra shapes in the line art.
- Think about the background. A plain wall or open sky leaves fewer shapes to interpret. A busy room can still work, but the result may have more small lines. If you want to focus on the subject, choose the No BG page type.
- Avoid heavy filters and text overlays. Filters can add contrast or texture that the model may treat as part of the drawing. Start with the original photo when possible.
Group photos are not automatically unusable. They simply contain more faces and overlapping edges, which can make a page feel busier. If the result is hard to color, try a tighter crop or the Simplified Art type rather than expecting one setting to work for every picture.

Source photo
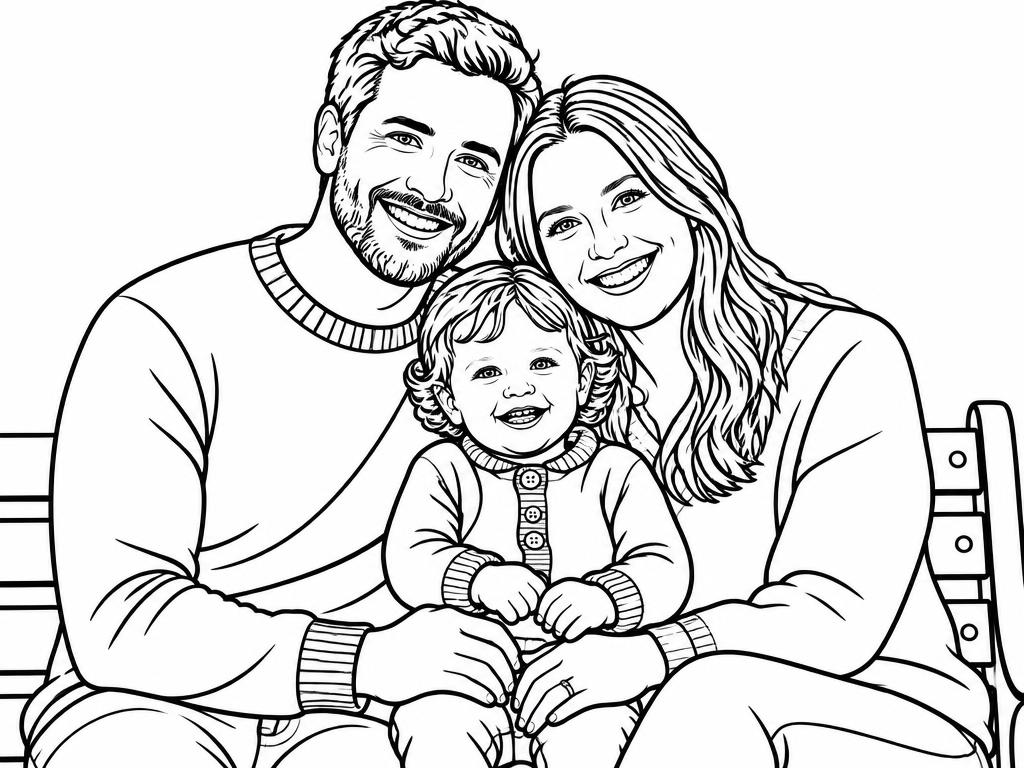
Generated line-art example
How to turn a photo into a coloring page with ZingPix
The ZingPix tool uses one source photo for each generation. It supports JPG, PNG, and WebP in the upload interface. You need to sign in before uploading and generating; new accounts receive sign-up credits, and the generator shows the current cost before you submit.
- Upload one photo. Choose the picture you want to work from. If the subject is small, crop a copy first so it has more room in the frame.
- Choose a page type. Start with Full Line Art for a more detailed outline, Simplified Art for fewer and thicker details, No BG to focus on the subject, or Old Version for a vintage, hand-drawn look.
- Set the frame and resolution. Start with Auto if you do not have a target shape in mind. Choose a supported aspect ratio when you want a portrait or landscape page. Resolution controls output size; the maximum available depends on your plan.
- Add guidance if you need it. The prompt field is optional. Use it to steer detail or background treatment, not to ask for a guaranteed exact copy.
- Generate, inspect, and download. Check the face, hands, small shapes, and background before printing. A successful generation uses credits; if you run it again, check the displayed cost again.
The page-type instruction is combined with your optional guidance before the image is generated. That makes the preset a useful starting point, while the result can still vary with the source photo and the model's interpretation.
Choose the page type for the way you plan to color
ZingPix offers four page types. They change the instruction sent with your photo; they are not four levels of guaranteed detail.
- Full Line Art asks for a clean black-and-white coloring-book drawing with the background included. Choose it when you want the scene around the subject as part of the page.
- Simplified Art asks for thicker outlines, fewer small details, and larger areas. It is a reasonable starting point when you want a less intricate page.
- No BG asks the model to show the main subject without the original scenery. Use it when the background is not part of what you want to color.
- Old Version asks for a vintage-style drawing with some variation in line weight and a moderate amount of detail.
For a concrete comparison, the examples below use the same dog photo with the four page types. The outputs show how each instruction can change the result; they do not promise that every subject will respond in exactly the same way.
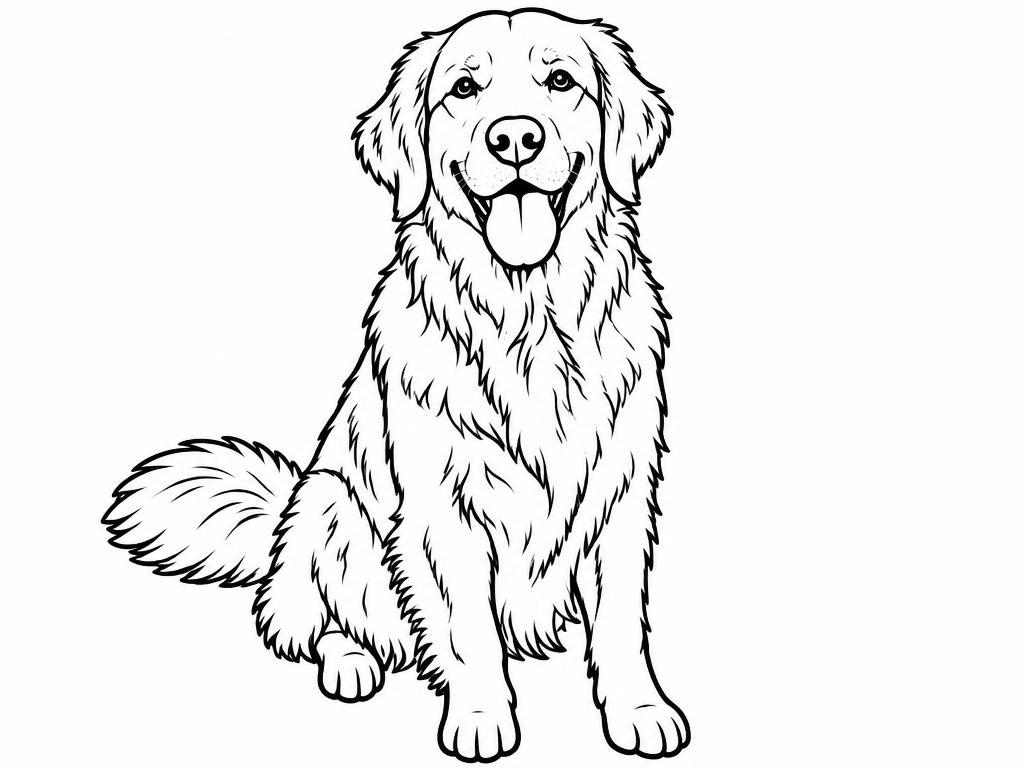
Full Line Art
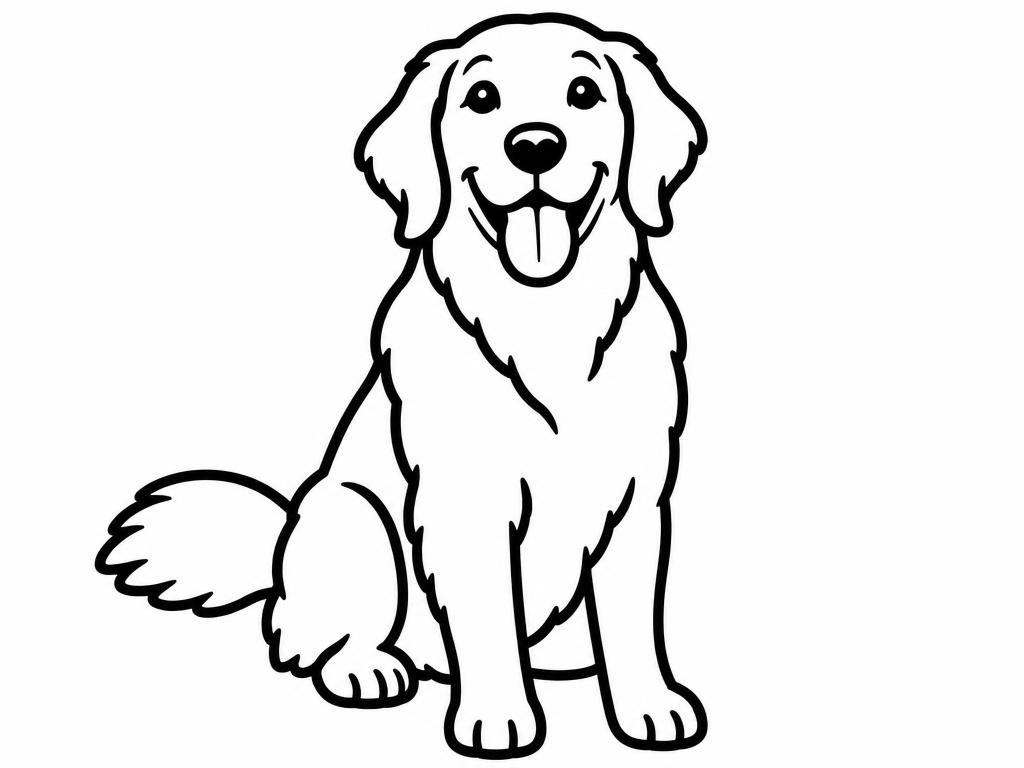
Simplified Art
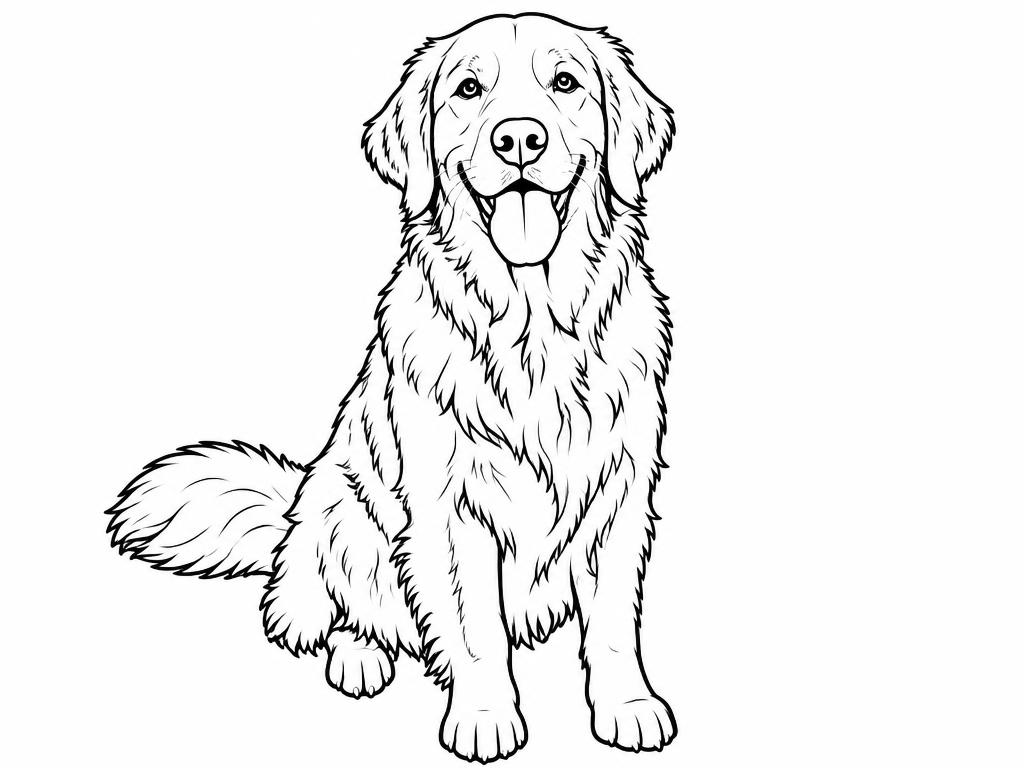
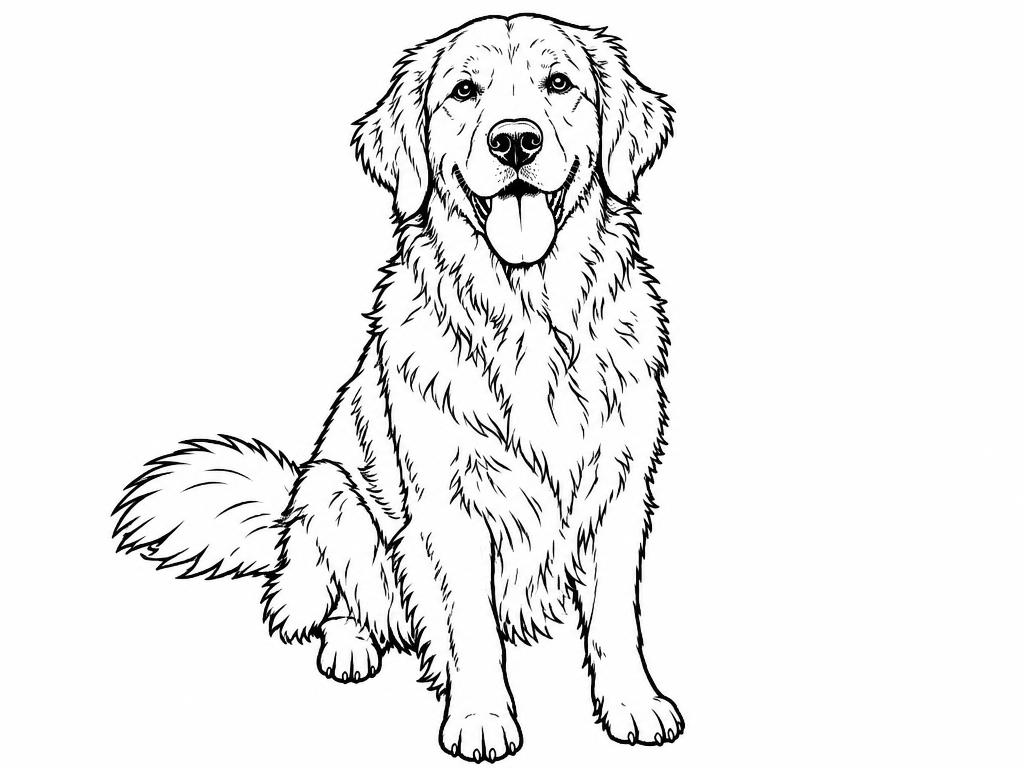
Old Version
Optional guidance prompts to refine the result
The selected page type supplies the main conversion direction. Guidance can add a small preference, such as how much detail to keep. Keep it specific and short:
Use thicker outlines and fewer small details. Leave larger spaces for coloring.
Keep the flower and pot as the focus, and simplify the small objects behind them.
Keep the dog's markings recognizable and simplify the grass and fence details.
These are suggestions, not controls over individual pixels. If you want a different overall level of detail, changing the page type may be clearer than stacking several instructions into one prompt. Read the result before downloading; text rendering and fine details can vary.
Fix common photo-to-coloring-page problems
The page has too many small lines. Crop closer to the subject, try Simplified Art, or ask for fewer small details. A busy background may still contribute extra shapes.
The subject looks small or gets lost. Use a photo where the subject takes up more of the frame. If the background is not important, try No BG.
A shadow became a dark outline. Choose a more evenly lit source if you have one. A strong shadow can look like an edge to an image model.
The result changed a detail you wanted to keep. Try a clearer source and state which subject or object matters most. The model redraws the photo; it does not trace every edge exactly.
The print looks softer than the screen preview. Choose the highest resolution available to your plan, use the original rather than a compressed screenshot, and check the printer's scale setting. Higher resolution can help with output detail, but it cannot restore detail missing from the source image.
AI conversion, filters, or tracing?
An AI photo-to-coloring-page tool is useful when you want a new line-art interpretation without drawing every contour yourself. A contrast or edge filter in an image editor can be a quick experiment, but it may leave gray areas, rough edges, or details that need manual cleanup. Tracing gives you the most direct control over which lines remain, but it takes more time.
If you want a pencil or graphite-style drawing rather than open areas to color, Image to Sketch is a closer fit. Coloring-page line art and a shaded sketch are different outputs, even when they start from the same photo.
Aspect ratio, resolution, and printing
Aspect ratio controls the shape of the output frame; resolution controls its pixel size. Choose a portrait or landscape ratio that is close to the paper layout you intend to use, then use your printer's fit-to-page setting and review the preview. ZingPix offers common aspect ratios, not a dedicated A4 or Letter PDF template, so check margins before printing a batch.
Resolution and plan access affect the available output size. The generator displays the current credit cost before you submit. Do not assume that choosing 4K will make a crowded image simpler or create a precise paper-size layout; it changes output resolution, not the source composition.
Photo rights and privacy
Upload only photos you own or have permission to use, including permission from identifiable people shown in the image. To generate a page, the photo is processed by ZingPix and its third-party AI and infrastructure providers. Generated images and history remain in your account until you delete them. Uploaded reference photos are kept while the associated project or history exists; copies sent to the upstream provider follow its retention rules. Read the Privacy Policy and Terms of Service before uploading personal or sensitive images.
Frequently asked questions
Can I turn several photos into one coloring page?
The ZingPix photo-to-coloring-page workflow accepts one source photo per generation. If you want several subjects together, combine them into one image before upload or create separate pages and arrange them later in a layout tool.
Is it free to turn a photo into a coloring page?
New accounts receive sign-up credits that can be used to try the tool. Each successful generation uses credits, and the current cost appears before you generate. Failed tasks return credits according to the current service rules; a successful result is not a free regeneration.
Can I make the coloring page easier for a young child?
Try Simplified Art, which asks for thicker outlines and fewer details. You can also add short guidance such as “larger open areas and fewer small details.” Review the result because the output may still include details that are too small for a particular child.
Does the tool create an exact trace of my photo?
No. It generates a new image based on the photo and selected page type. It can preserve the recognizable subject while simplifying or changing small details, so compare it with the source before printing or sharing.
Can I print the output on A4 or Letter paper?
You can download the generated image and print it from a phone or computer. Choose an available aspect ratio close to your intended page, then check the print preview and use fit-to-page if needed. The tool does not currently provide a dedicated A4 or Letter PDF layout.
How are uploaded photos handled?
The Privacy Policy explains third-party processing and retention. ZingPix does not promise a fixed deletion period for provider-side copies, so review that policy before uploading personal or sensitive photos.
Ready to make a page from your own image? Open the photo-to-coloring-page tool, choose a page type, and check the displayed credit cost before generating.